
Traditional or Modern?
It was really difficult for us to decide on the styling of the bathrooms in the Caretakers Cottage. Bathrooms and toilets never existed inside the cottage (even until today, we converted old cupboards and store rooms into the bathrooms you see). So it was a question of how you style them, we obviously wanted to be respectful to the style of the property but try not too be pastiche.

Do old properties always have to have a cistern hung from the wall with a chain? Yes we totally agree the outhouse toilets should be like this, they always were and the spaces were designed for these fittings. When you look at a new space from afresh with no past reference its hard to justify why you would bring all traditional items back into the mix.
Ok, yes - this is just our opinion but we thought we would share with you how we approached it.
Our idea was to introduce modern conveniences into the house with modern devices (sanitaryware) and link to the past with subtle accessories and surrounding items. This included a Victorian Cast Iron radiator, an exposed wood door showing the aged wood of the past 100 years and some vintage pictures to show the house has had some age and has been lived in (still to source this last one).
Cost
Its not often people talk about cost but we have potentially 14-17 bathrooms/toilets to fit out so its hard to go extravagant with them all. The most fundamental point we were working with was that the Caretakers would never be our permanent home, it would be a renter. We needed to be efficient with our money…. hard when we have such high standards and we love good design.
We decided to save our money on the items that ‘are what they are’.
Fitted baths - do any of them really differ that much? Its all about the bath panel. We will get into that in a minute.

Showers - Again shower trays don't vary too much anymore they are all pretty slim, white and come as the size you need. Shower screens are another matter but we managed to find one with a minimal frame (less cleaning) and more glass (ok more cleaning).
Toilet - Ok a toilet is a toilet you find some great ones with great shapes for a cheap price. Our brief was to hide the waste pipe behind completely (less to dust and smarter lines). We fitted a built in cistern, Dean has an aversion to visible cisterns… although he likes the traditional ones hung high on the wall… odd, make up your mind Dean! Anyway, the built in cistern, we didn't go cheap on (well nor expensive) it is the Geberit Cisterns with the flush plates that allow you to access all the parts through it. We fitted them in all our past houses and ‘touch wood’ they are still going strong. No one wants to flush a toilet to find it doesn't flush, right! Now this is where we failed… we bought a cheap soft close seat, DONT DO THIS! Within the first few weeks it no longer became soft close and we have no idea how.

Sink & Vanity Unit - Vanity units can be extortionate so we love a good ikea hack. We bought a countertop sink and we made our vanity unit. The vanity unit consisted of Ikea METOD kitchen wall units and oak doors (from the kitchen range). We added some cute little handles to tie in with the taps and topped it off with some quartz that we had spare from the sheet we bought for the kitchen worktop.
Materials
Tiles were the most fundamental thing for us, the house is covered with natural materials, oak beams, wooden floor and terracotta tiles. It seemed an insult to introduce a ceramic or porcelain tile into a house rich in natural products. There is a stigma attached to natural materials as they require maintenance, but if they can last 400 years to date how can we not look after them for the next 50 at least!
We went in search of natural tiles…

Flooring - Our options for the flooring was terracotta (to tie in with the existing) or slate. We felt we could justify the material change between ground and first floor and felt slate was the best option to respect the use of natural materials whilst still being modern. The size, shape and way you lay the tiles is key for this. Yes everyone is going for a chevron or herringbone but we felt it just did not work in these spaces. They are too small and would make the floor to fussy. It was just an added bonus that the way we did it was easier to lay! The icing on the cake was we also had hardly any wastage (we made the wastage into coasters!)
We used a honed slate 60 x 12 ‘URBAN SLATE’ we love the slender strips they came in and it made the room seem longer than it was. Honed ensures less ridges and bumps but still enough of them to make it feel like is slate.
Wall Covering - There were no quibbles here, we wanted marble, its timeless, unique and provides an air of luxury. Borja being Spanish could not see a product more superior to this as is a staple product used in most houses across Spain (granted its more cost effective for them there). Yes we could have gone for black, red, green but if something is going to date in your house you don't want it to be the tiles you painstaking spent hours fitting and bought.
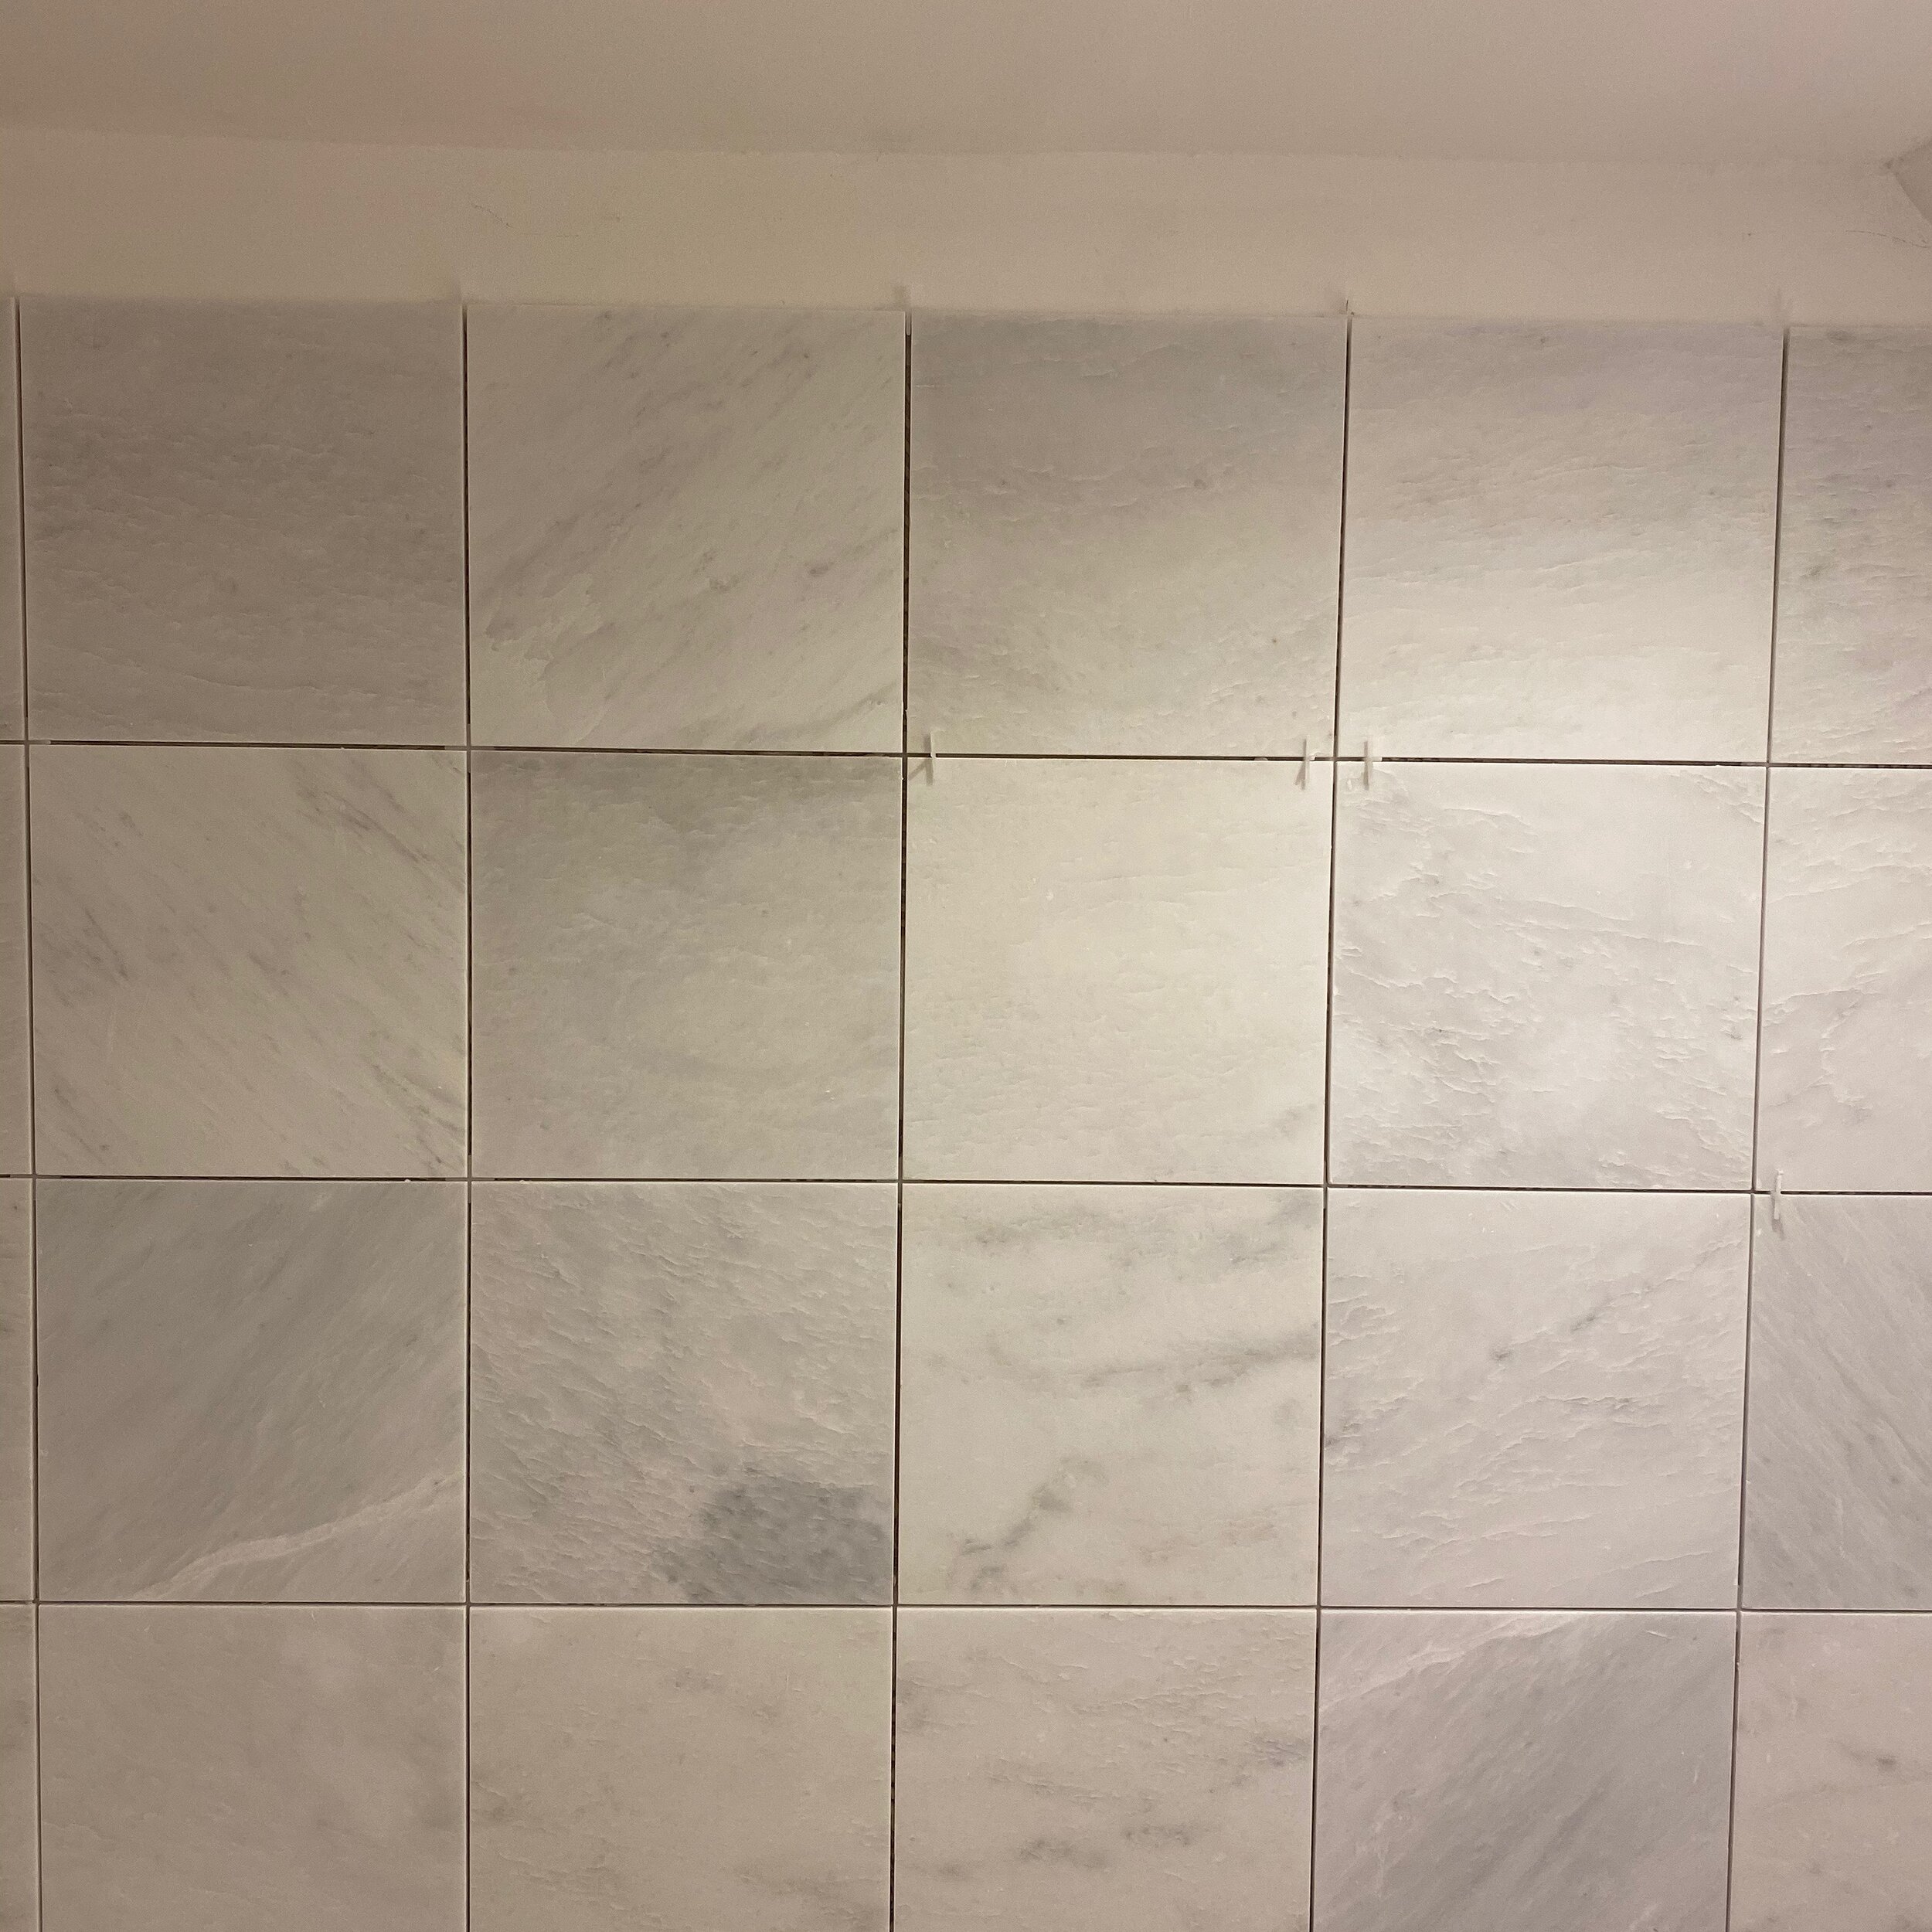
We used a honed white marble 30 x 30 ‘EAST HAMPTON’
We purchased the floor and wall tiles from Fired Earth, they had a huge array of natural products to pick from, in all shapes and sizes. They were so facilitating when it came to what grout and adhesive to use and how to protect and seal the products. Natural products should be protected prior to grouting! That is one of the most fundamental pieces of advice we can give you. We have heard many horror stories of what has happened if you don't. If you need any further advice, Fired Earth are more than happy to advise.
We received a discount of the products purchased through them, talking of which they have a huge discount on at the minute on their website
Putting together
So we had it all planned out, now to fit it. We wont go into full detail on how we did it as no one is really interested in that, but we will highlight one key item...

The Bath Panel - Oh yes this bath panel, the one where Dean had this crazy idea of making a built in bath look freestanding. Ok I will give credit where its due, it did work out well. Our stories on how we did it are on our instagram under ‘DIY’.
We made a panel shorter than what we required and we routed it and surrrounded it in a frame. All of this made from MDF. Yes we should have used moisture resistant MDF… we will regret this in a few months we are sure! We added legs to it and this created our frontage. Now we then had to work out a way of hiding all that void visible behind the legs. Even more critical was the toilet sat opposite, and we all know that you spot so much sitting on the toilet! We applied a timber strip and sunk it as far as we could into the void under the bath. We then painted this black to disappear into the background and seem like a shadow.

So that was the short story on how we did the bathrooms in the Caretakers Cottage.

We cannot go without mentioning the colours we used… ‘little donkey’ on the skirting and bath panel by Fenwick and Tilbrook and the skirting board provided by ‘Skirting World’. All companies we have collaborated with to create these spaces.