Creating a Mosaic Floor to match the Originals....
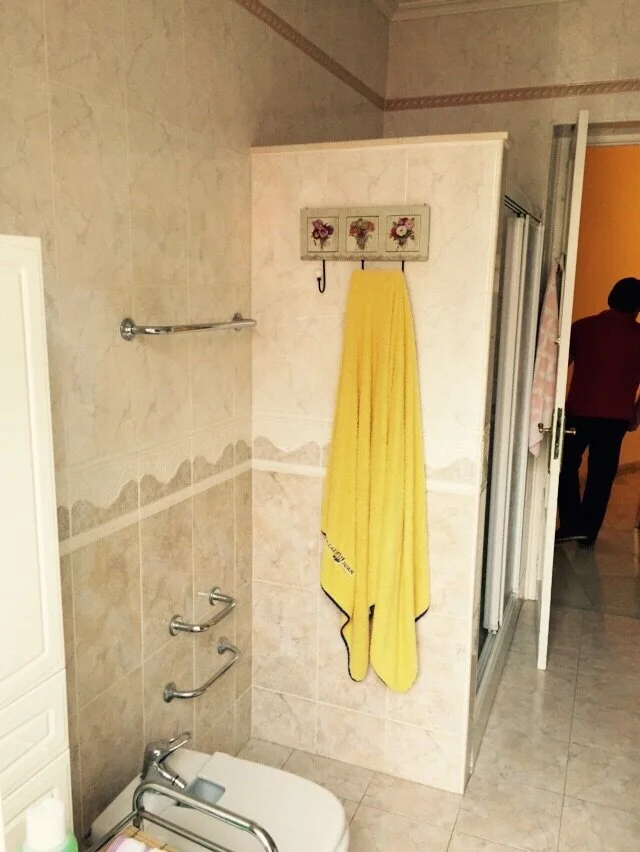
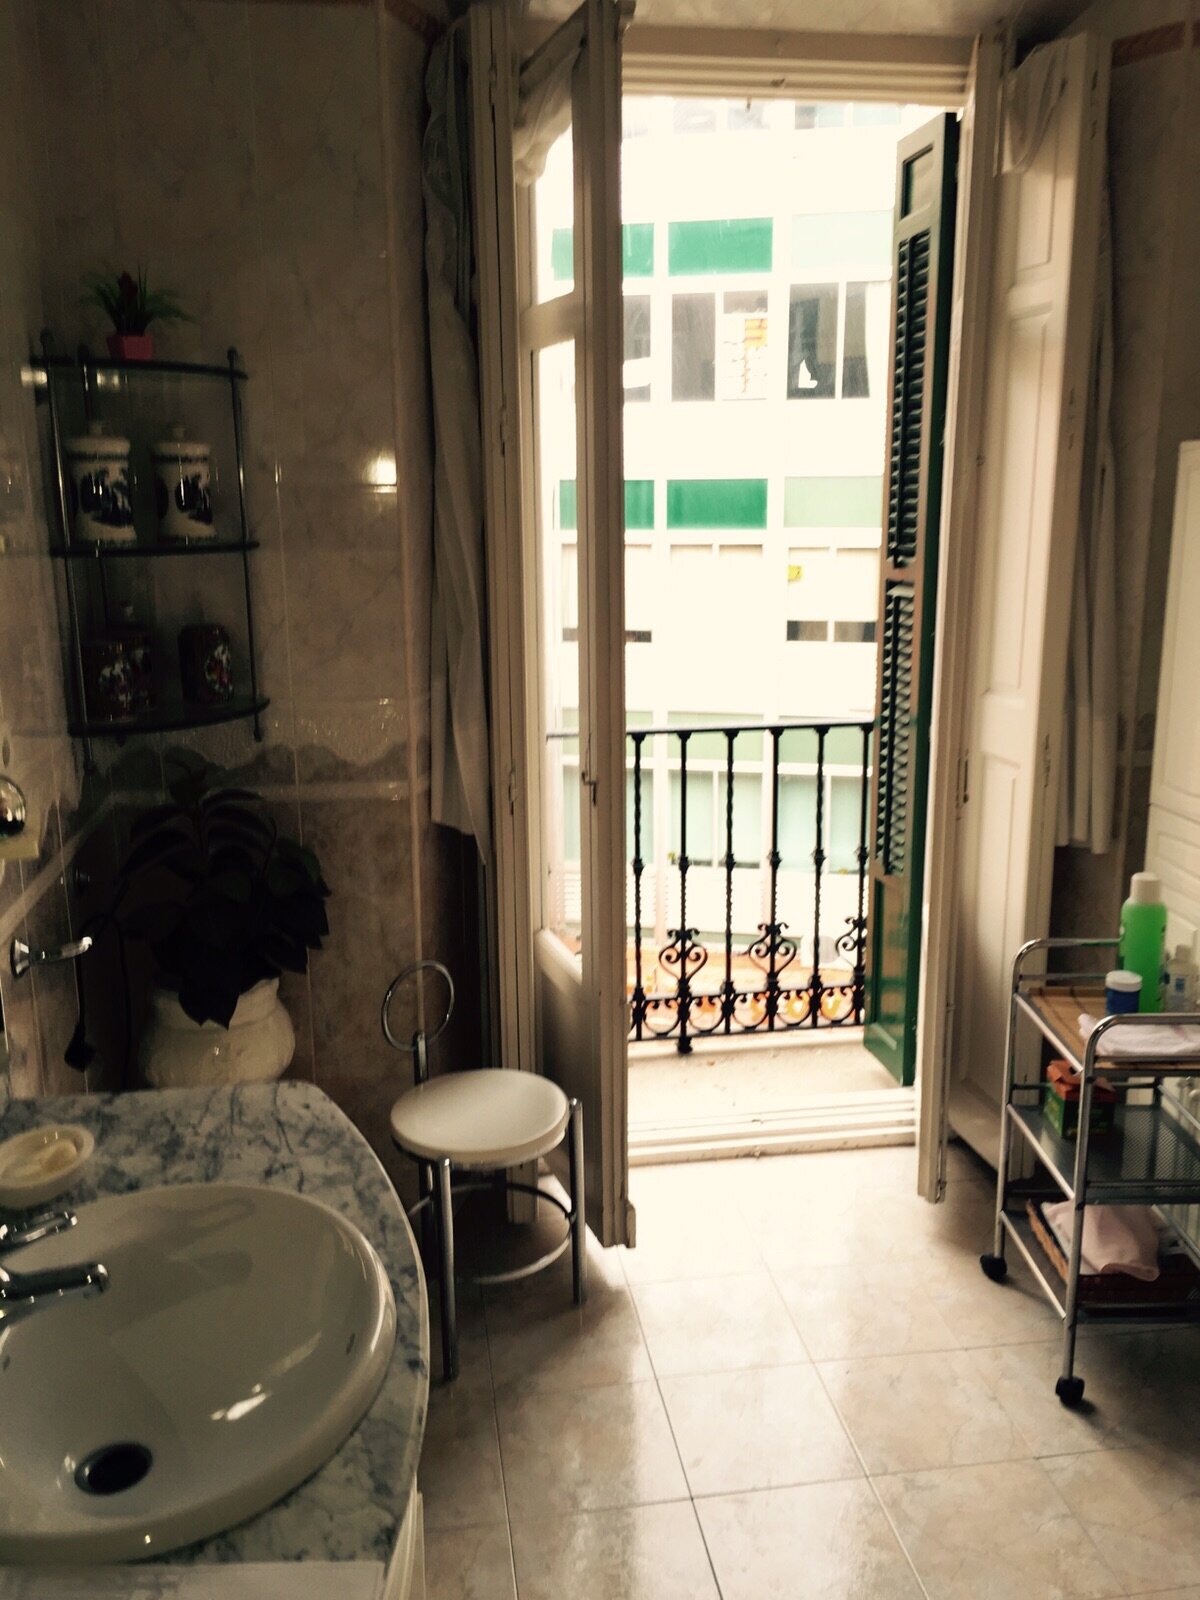
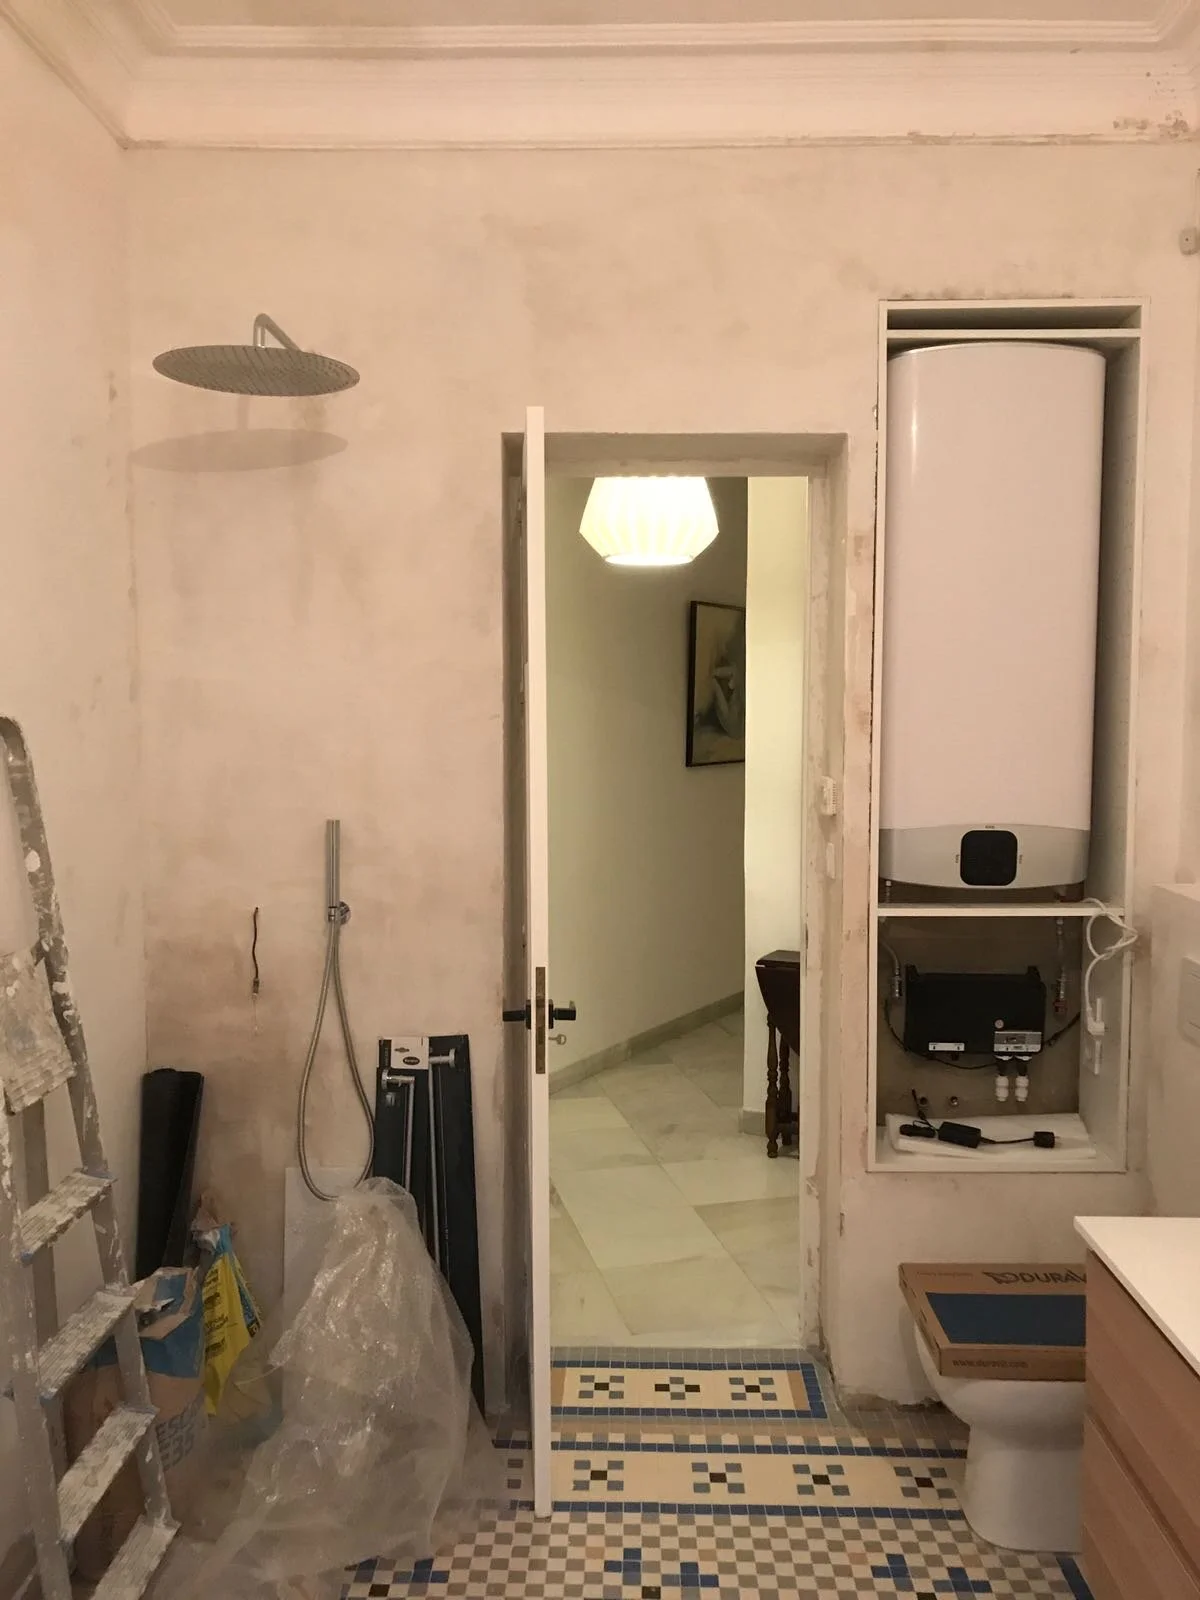
One of the hardest jobs we have completed is the bathroom refurb in Spain. This was the only room in the house that didn’t have the beautiful original mosaic floors. It had a porcelain beige tile typical of a 1990’s bathroom refit. We knew we wanted to put a mosaic floor down, but the question was how?
Mosaic floors in Spain are extortionate, each individual tile costs around 1.5euro and with over 6000 individual tiles required this was far beyond our budget! It made us think “if we took up all our tiles and sold them, we would have close to 100k euros in tiles” CRAZY!
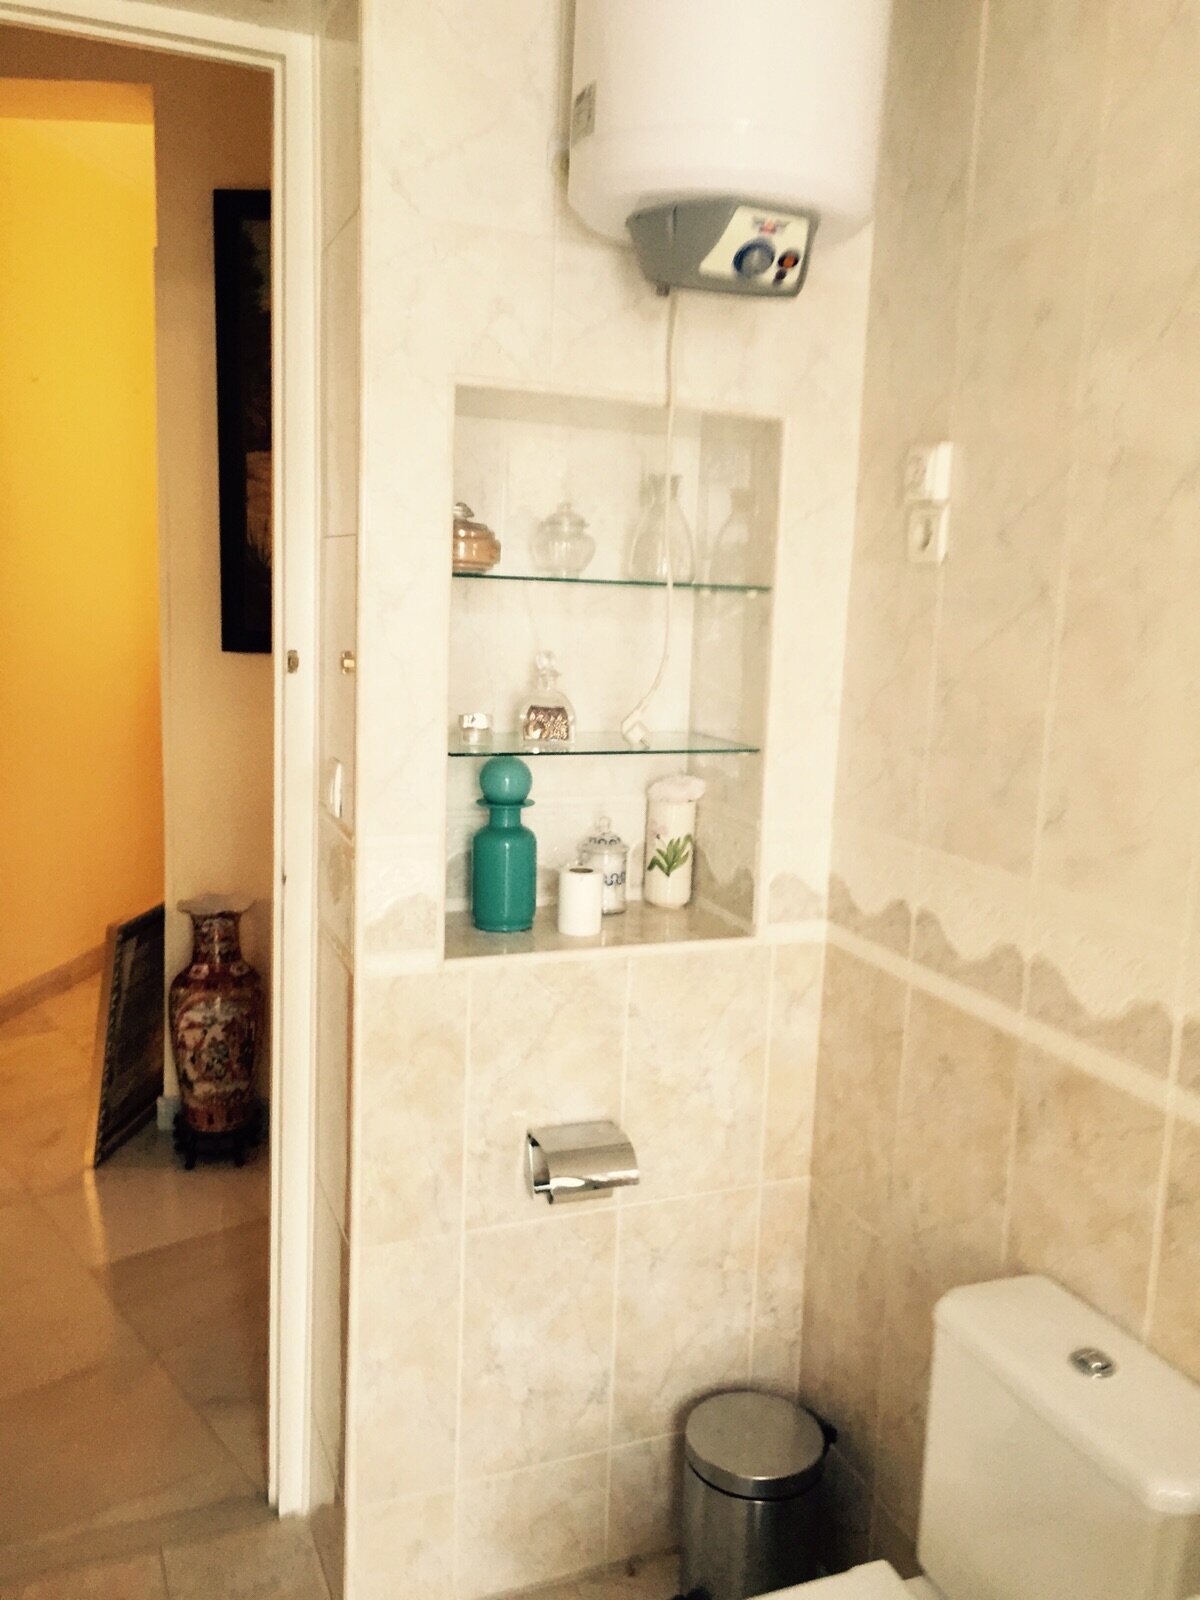
You can see what we were dealing with, this was the original bathroom…

We carried out many months of research both in the UK and Spain to see how we could source the mosaics. Our initial thoughts lead us down the path of buying large tiles and cutting them down individually to suit. This was something we did in the open plan of the house to repair some broken tiles. It was not something we wanted to do in the bathroom, as it would take us months to cut. We questioned whether we could cut say one large tile every evening after work and how it would take us, say 40 evenings to do it. We desperately wanted to avoid that!
Then we had a brainwave (rare and infrequent), we thought about the beautiful victorian houses in England and the stunning hallways lined with these beautiful patterns. We researched victorian tile and there they were, the 4cm x 4cm tiles we were looking for. They had the colour running throughout the tile (very important for us, as we wanted the tiles to last as long as the originals) and coming in a range of colours to do the pattern we wanted. Score!
So now we found the tiles, how on earth were we going to put them down?! I mean this is one complex jigsaw… 6000 pieces and with a countdown timer (that being the tile adhesive rapidly setting). We had to find a simpler way!
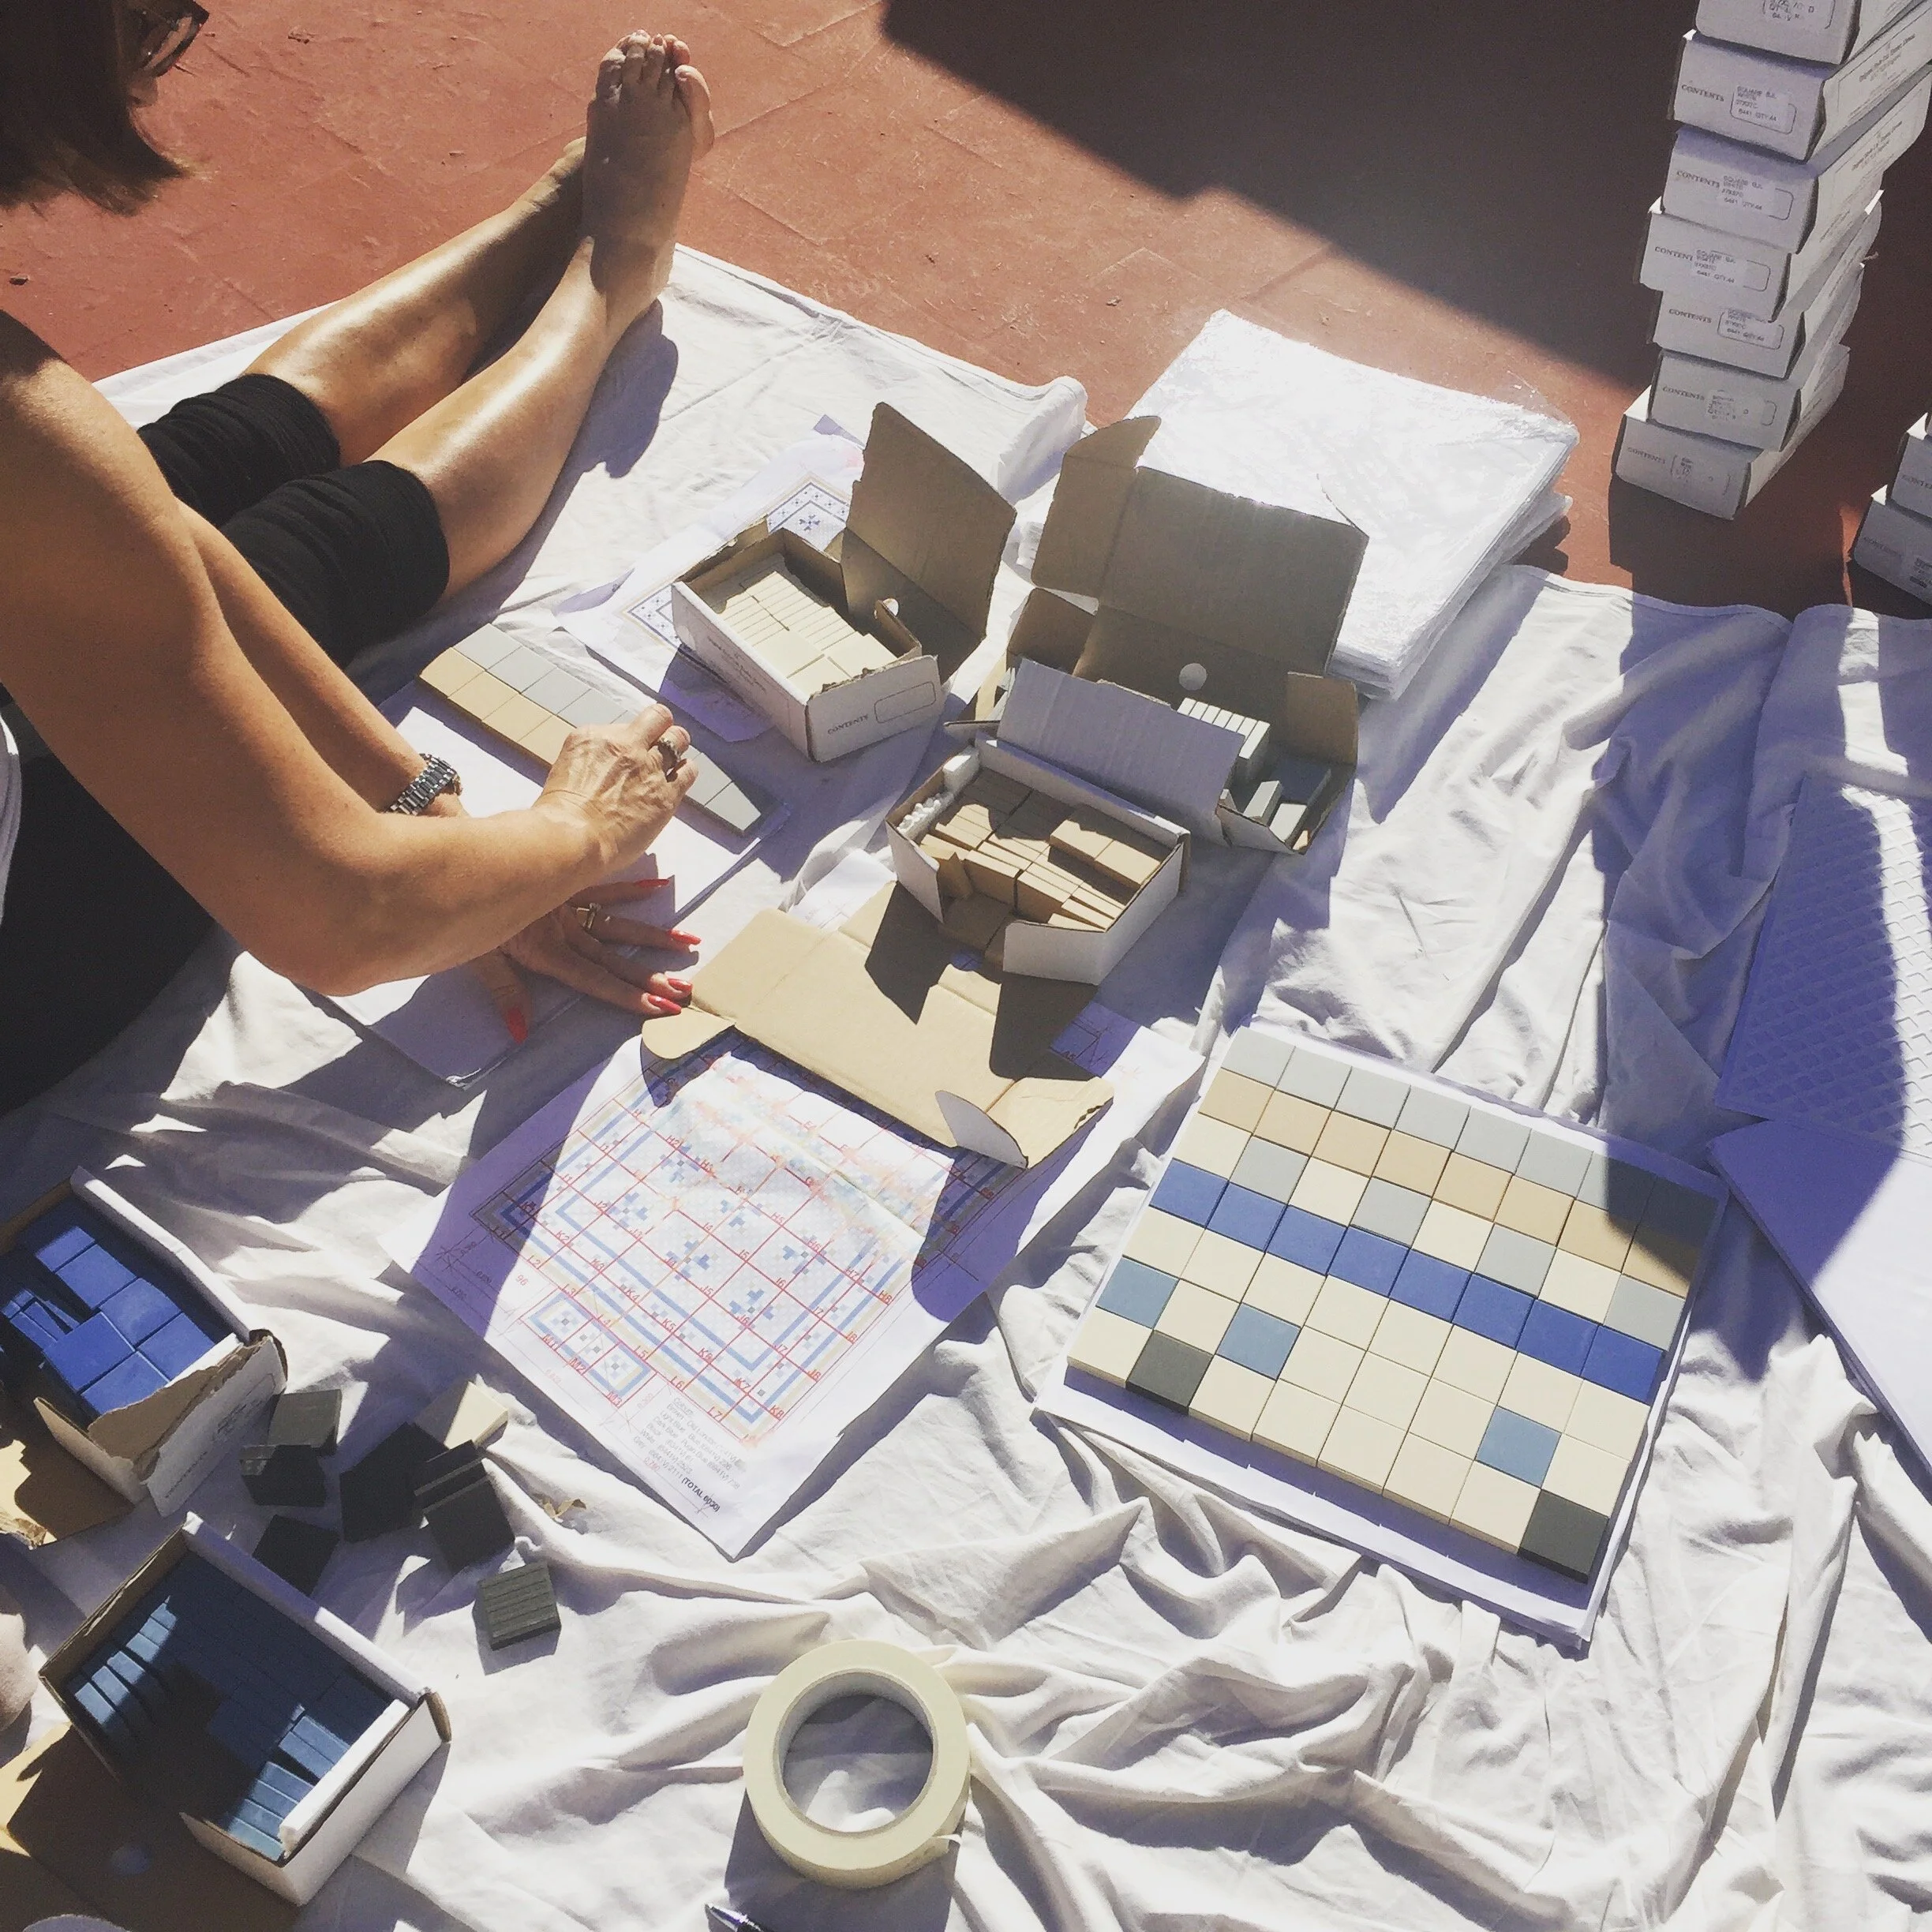
Firstly, before the logistics of laying them we had to come up with a pattern, we wanted it to be similar to the styles in all the other rooms, yet unique so we could mark our stamp on the house, our pattern, our ideas! Luckily Dean is an Architect so he had all the software to allow us to generate a map of how the tiles would be laid out and what pattern we could create.
As we write this, it seems easier than it was. We wanted the following.
A boarder pattern that surrounded the entire room
A middle pattern that would add the colour and excitement to the middle space
Ensure all of these patterns were never interrupted by the furniture that would eventually go in there
Surround the freestanding bath beautifully
Retain a similar number of colours as were in the other rooms
Easy right?! See below the pattern that we finalised on, we then overlaid the furniture we would be fitting to ensure it worked just right!


Perfect!
We must confess that we are very impatient, we don’t like to wait, probably that is the reason why we do everything ourselves… so while we were in Spain ‘supposedly’ enjoying time off from work, we started ripping the bathroom out. I suppose that’s how it always begins!
The bathroom had a false ceiling, Dean got his hammer and wanted to see what it was hiding… any problems we should be aware of?
SURPRISE! The ceiling was hiding the original cornice... intact!!
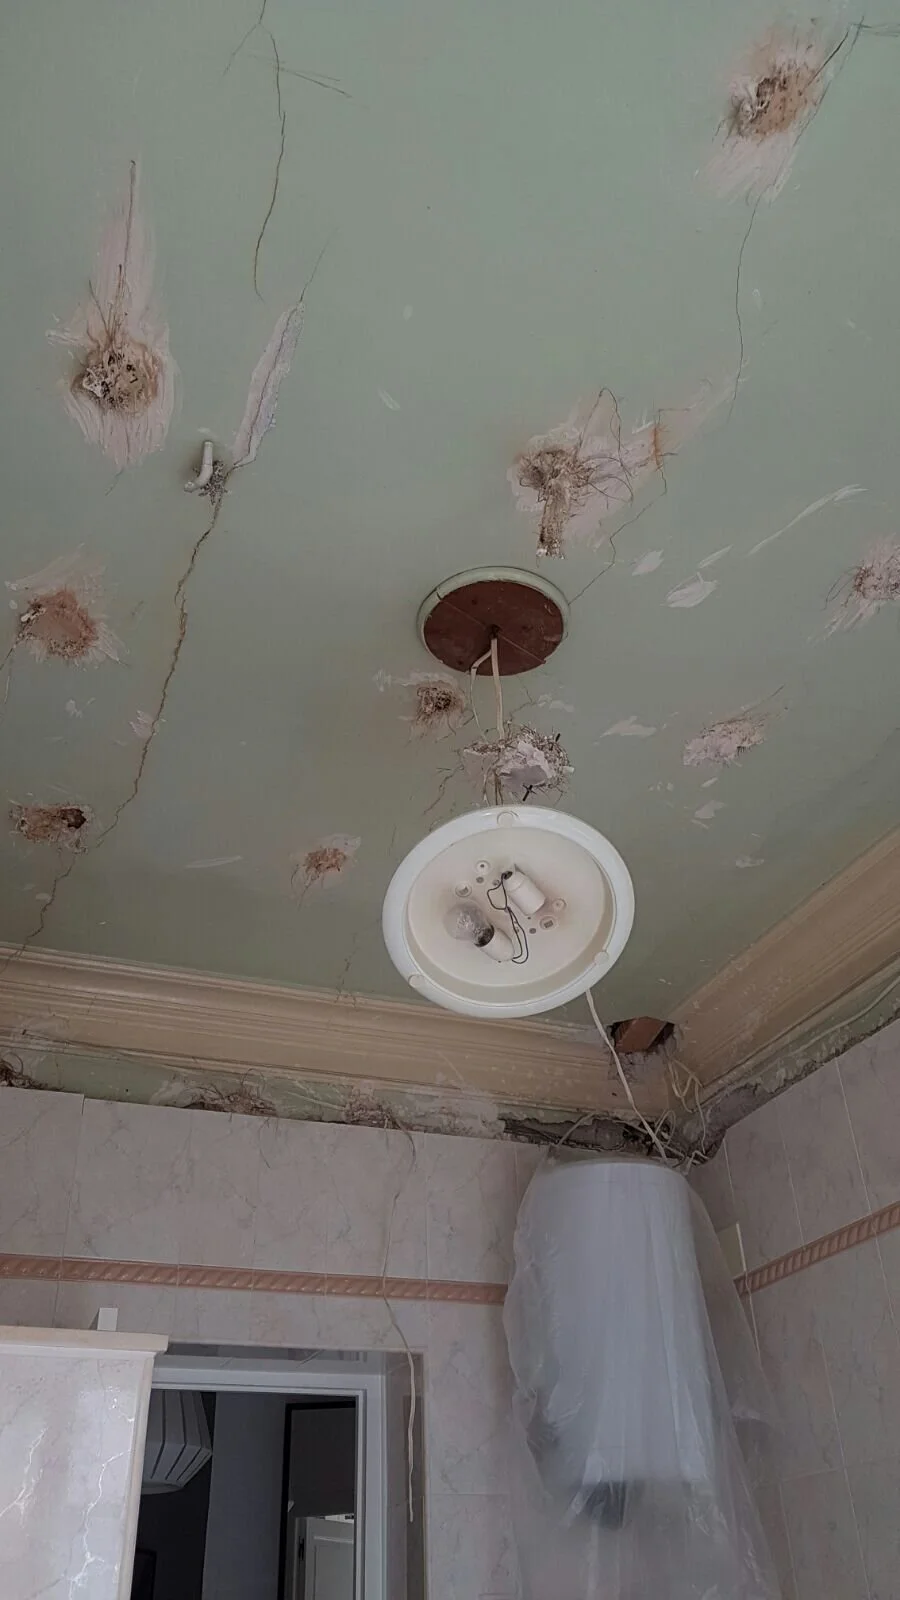
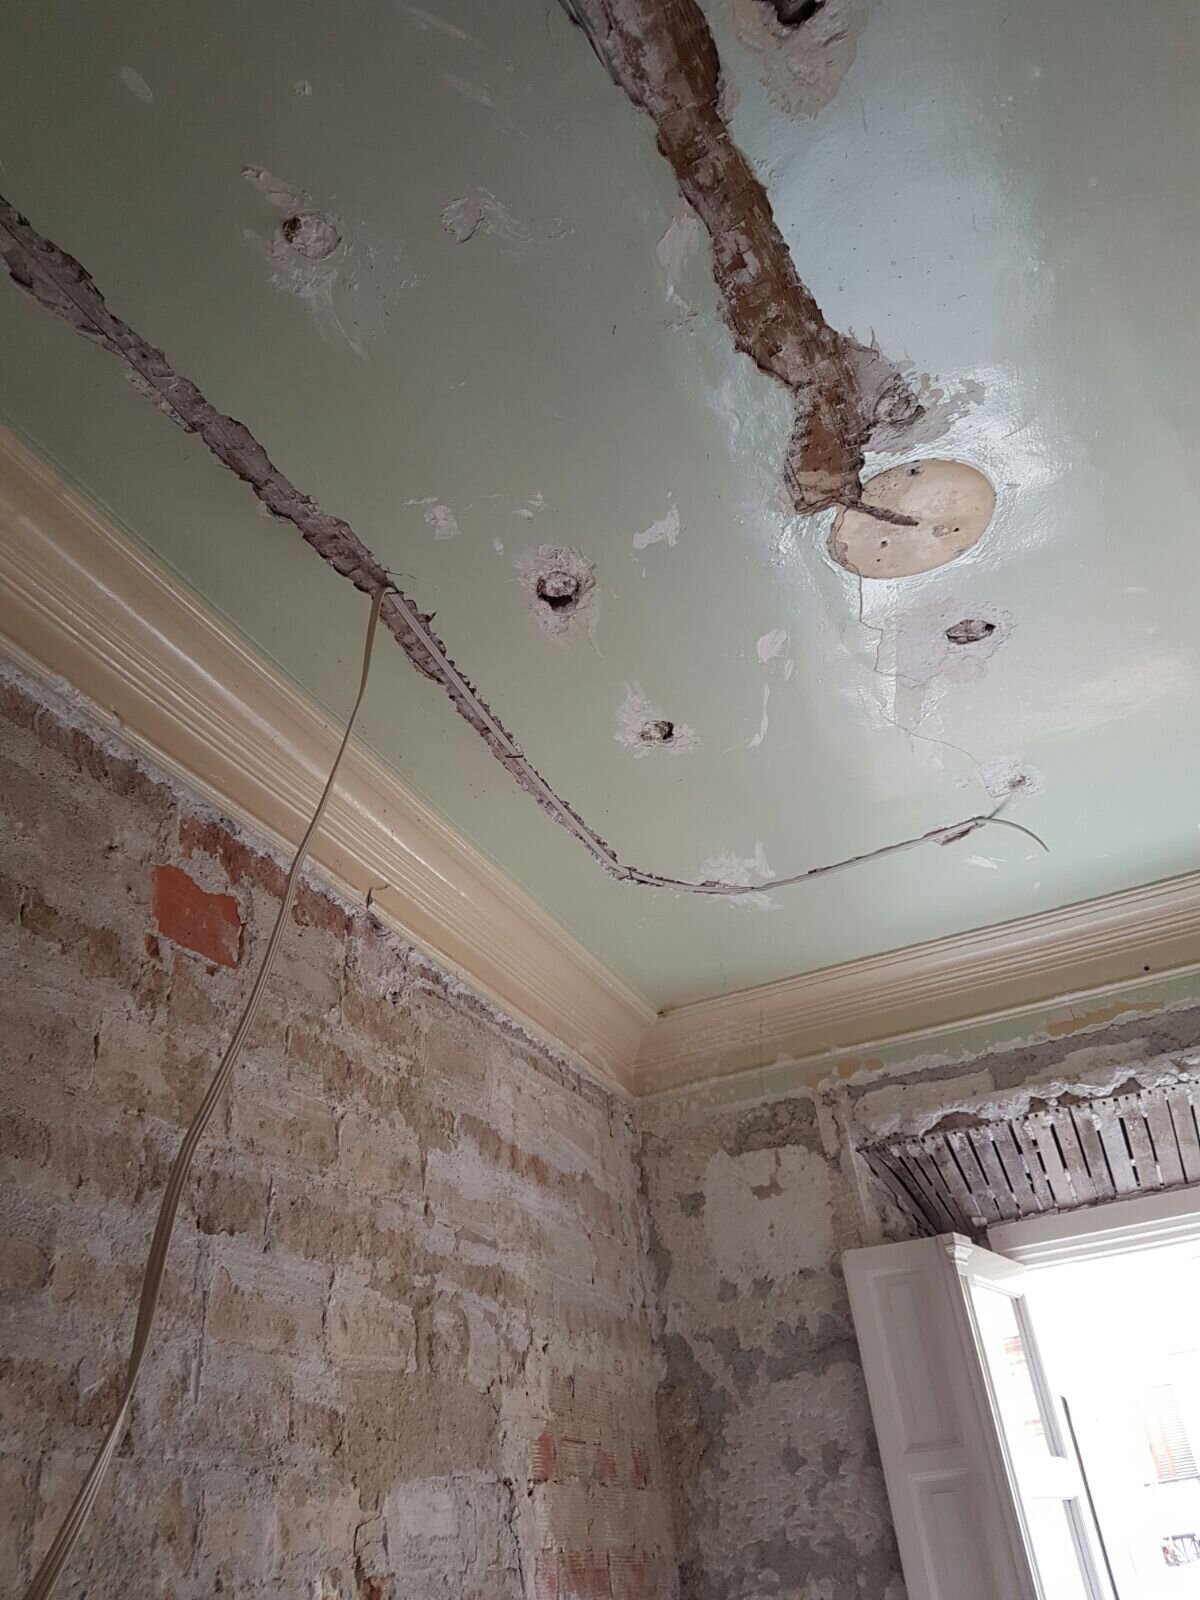

So we hammered away and took the ceiling down! Taking the ceiling down lead us to have an adrenaline rush… we wanted to crack on and get it all done! (Yes this is how we function!)
We had the layout plan as Dean sorted that out, and I had been buying baths, taps, wet systems ahead of schedule when we needed them. The reality is that we knew that our holiday was our ‘New Bathroom Break’ so we were ready.
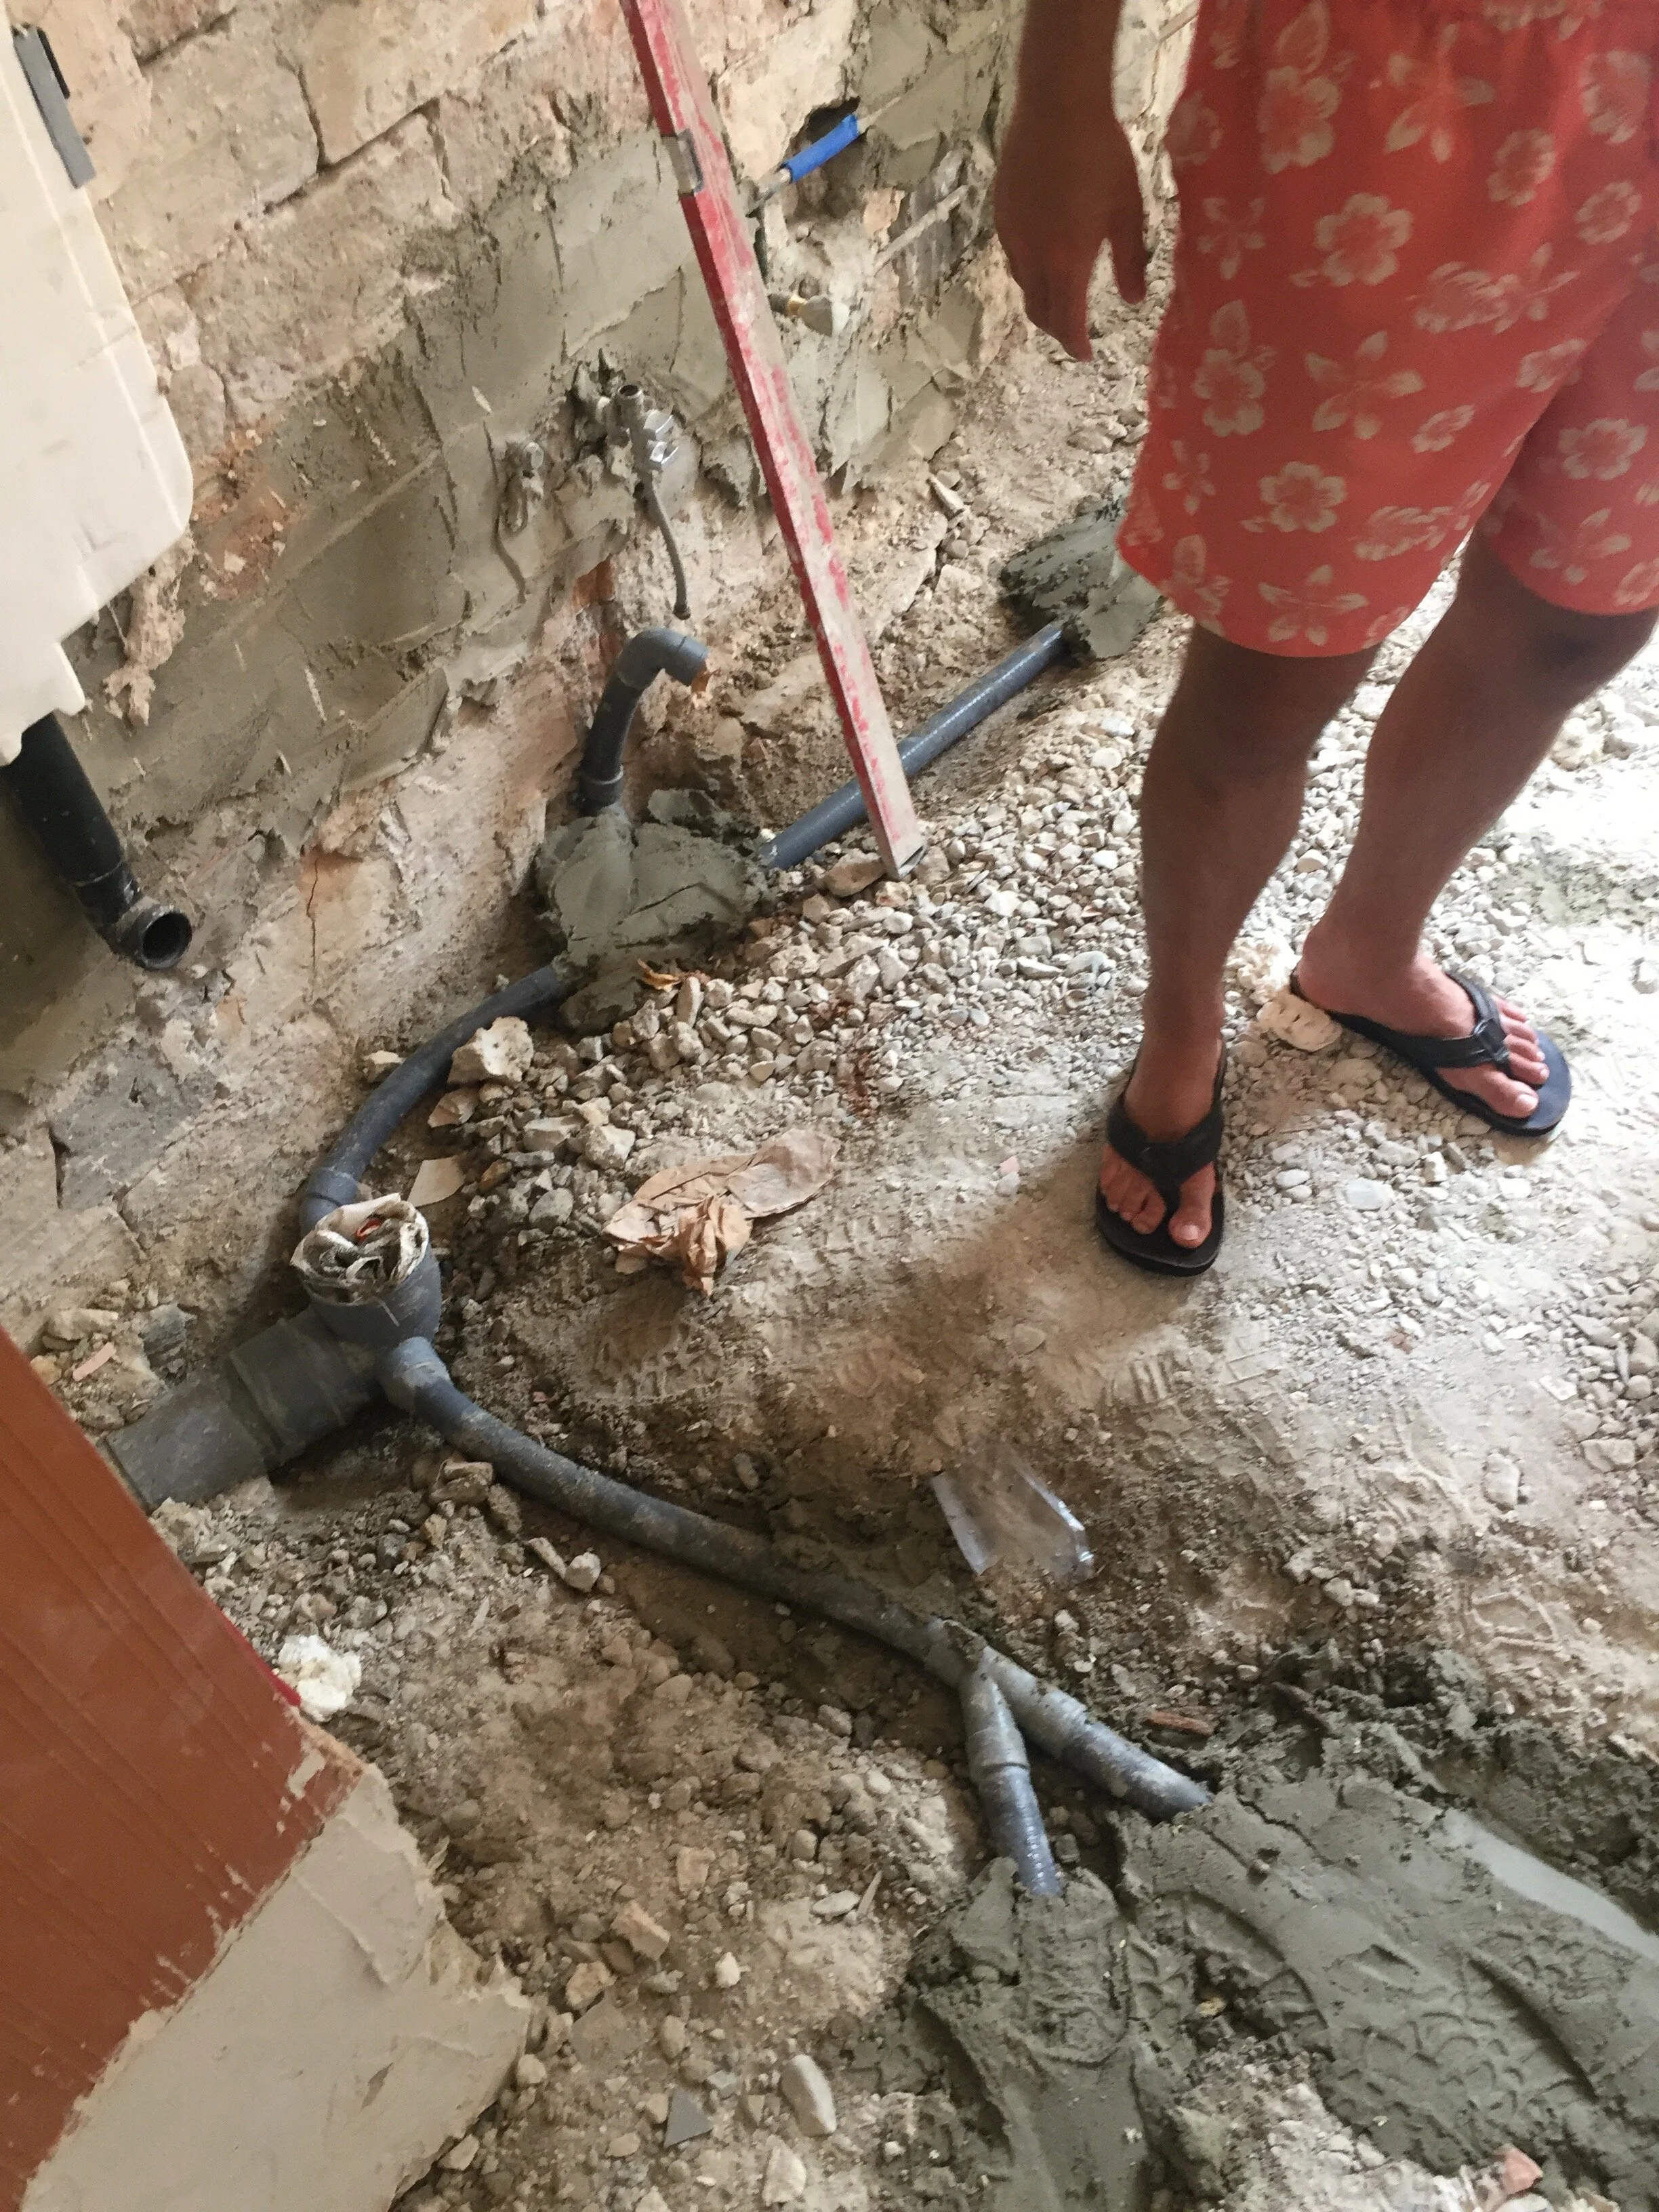
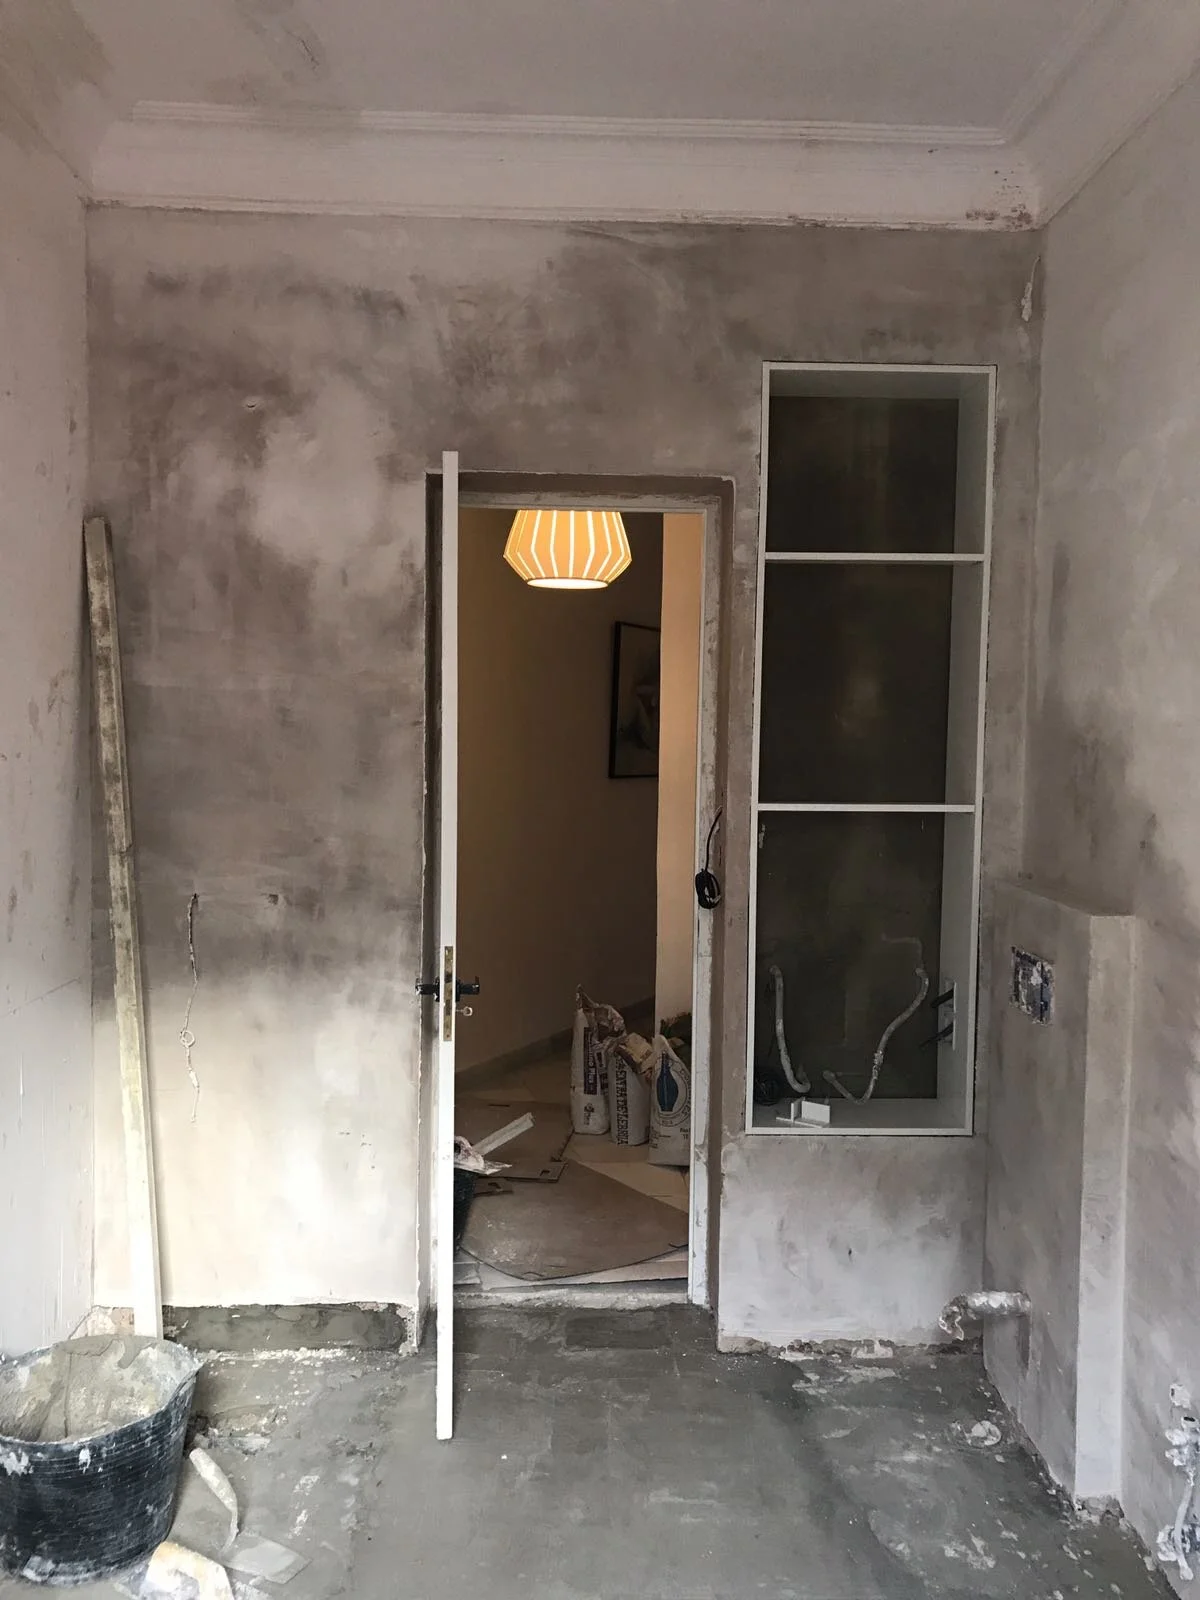
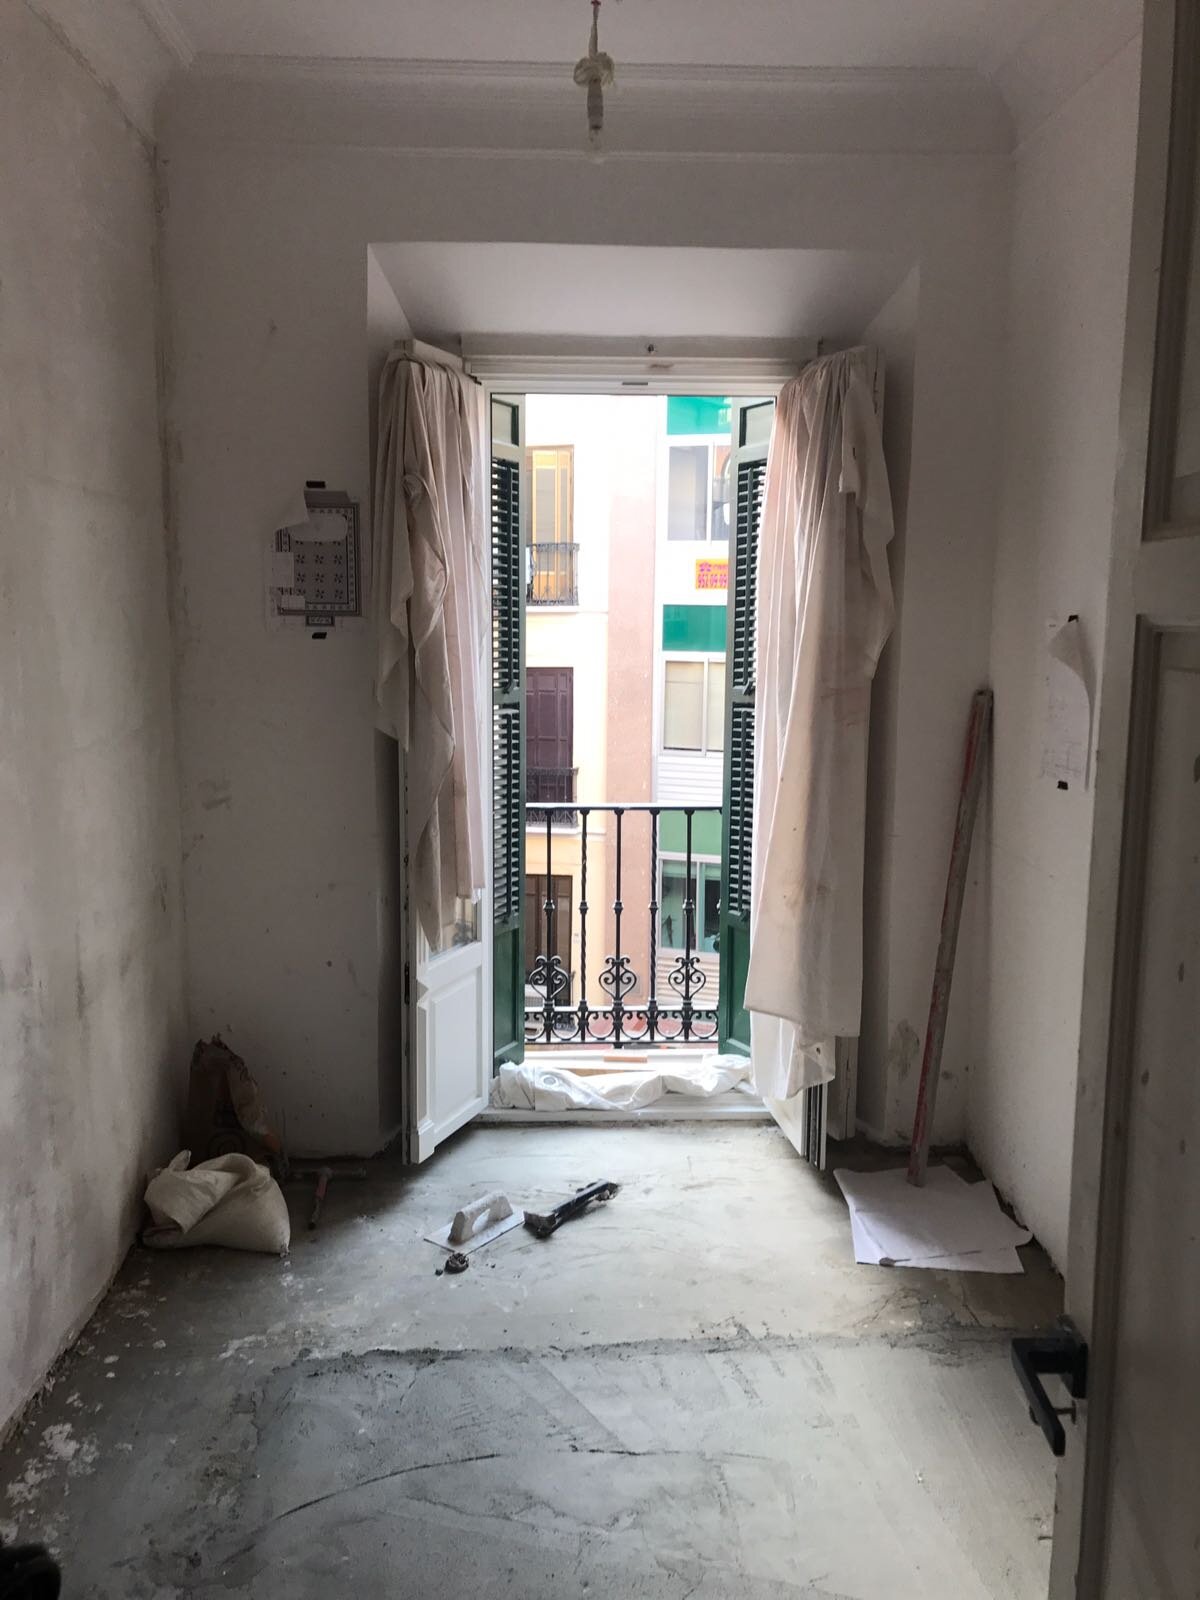
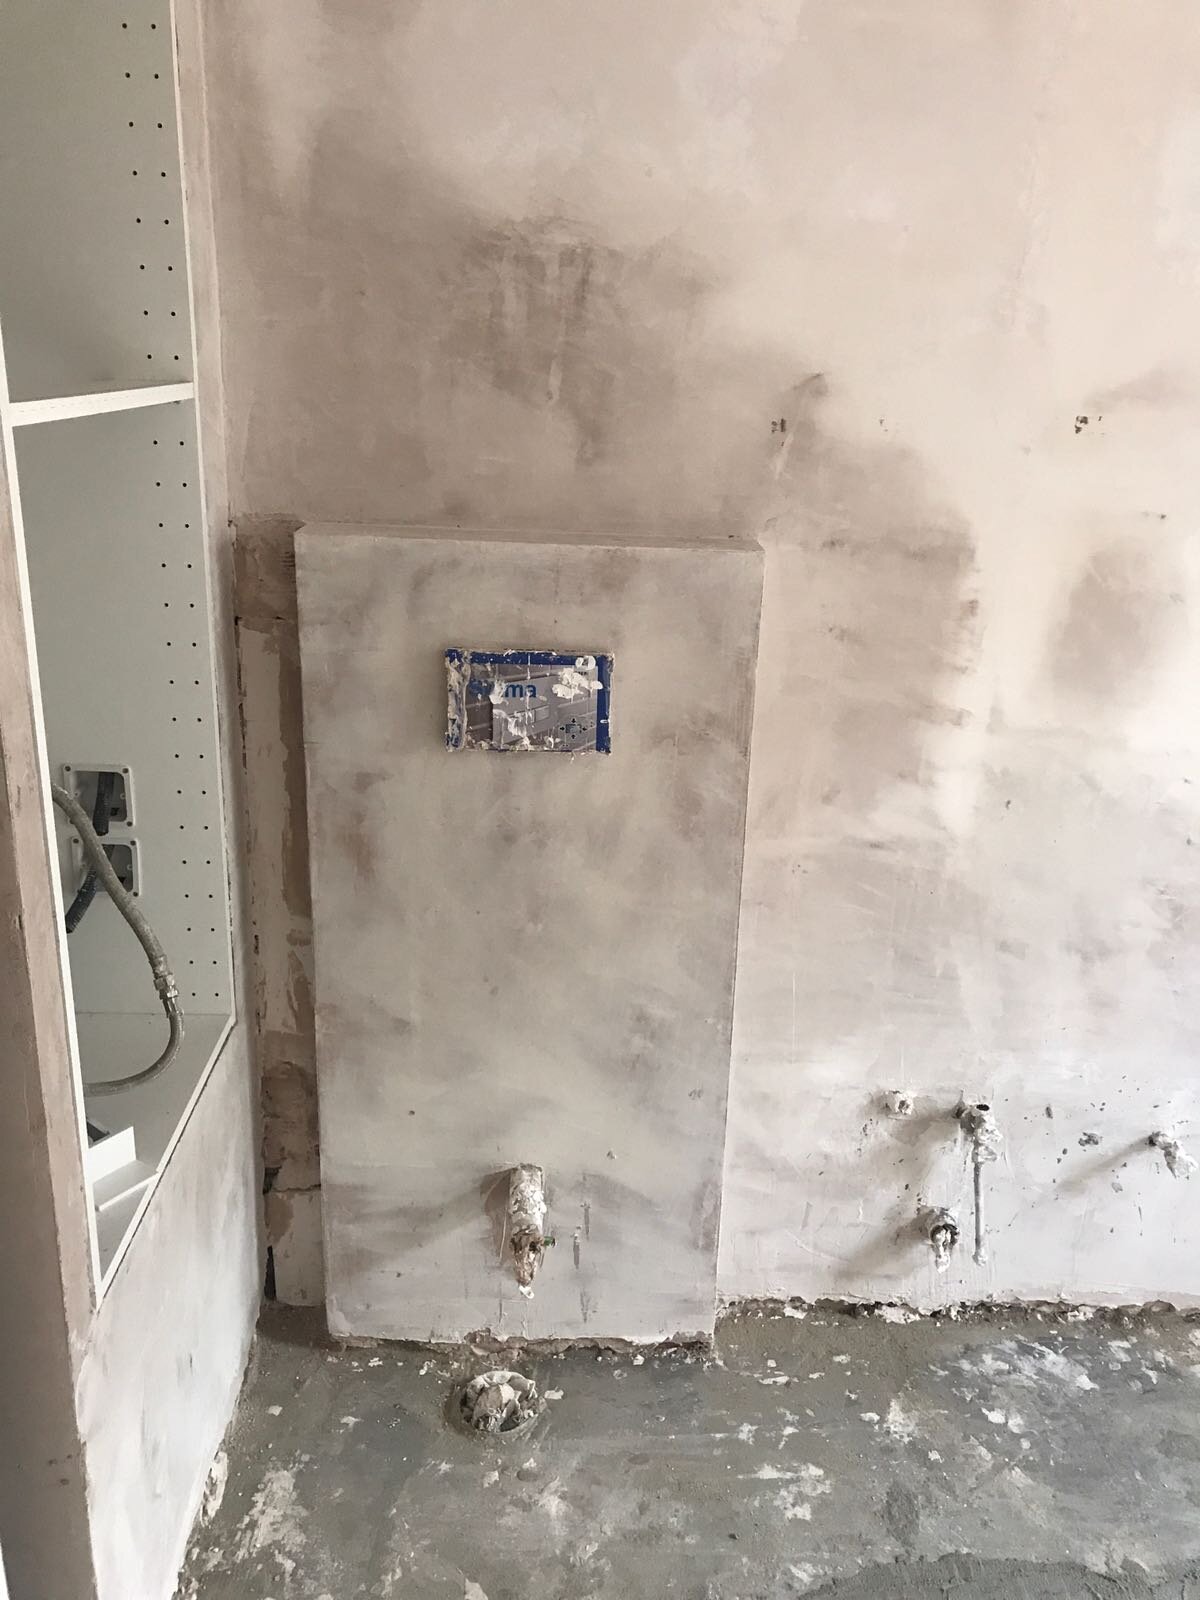
Dean and I then cleared the area, prepped the bathroom and ran the new electrics and plumbing, which was not easy. To put it in context the apartment was on the third floor of a historical building in a city centre where everything is pedestrianised, and we used a scooter for our trips to buy supplies in Bricomart (which is the Spanish B&Q or Home Depot) (depending where you are from)
Below you can see how we were getting on;
Now back to how we fitted them….
We found this great mesh product that we could stick all the mosaics to and lay them as bigger sheets of tiles rather than individually. So instead of laying 6000 we had to only lay 50 large tiles, perfect!
Now again, it was easier said than done, we first set out a map of how it would work, labelled them up, letters vertically and numbers horizontally. It was like being back at school asking “what is is in C3?'“. We went on our way to stick all these tiles down in the grid format we created. This took us around 30 working hours to do (luckily with three of us on it, so it reduced the time down a bit). It wasn’t that bad we did it drinking wine on the roof top terrace where we could sunbathe… after all we were on holiday!
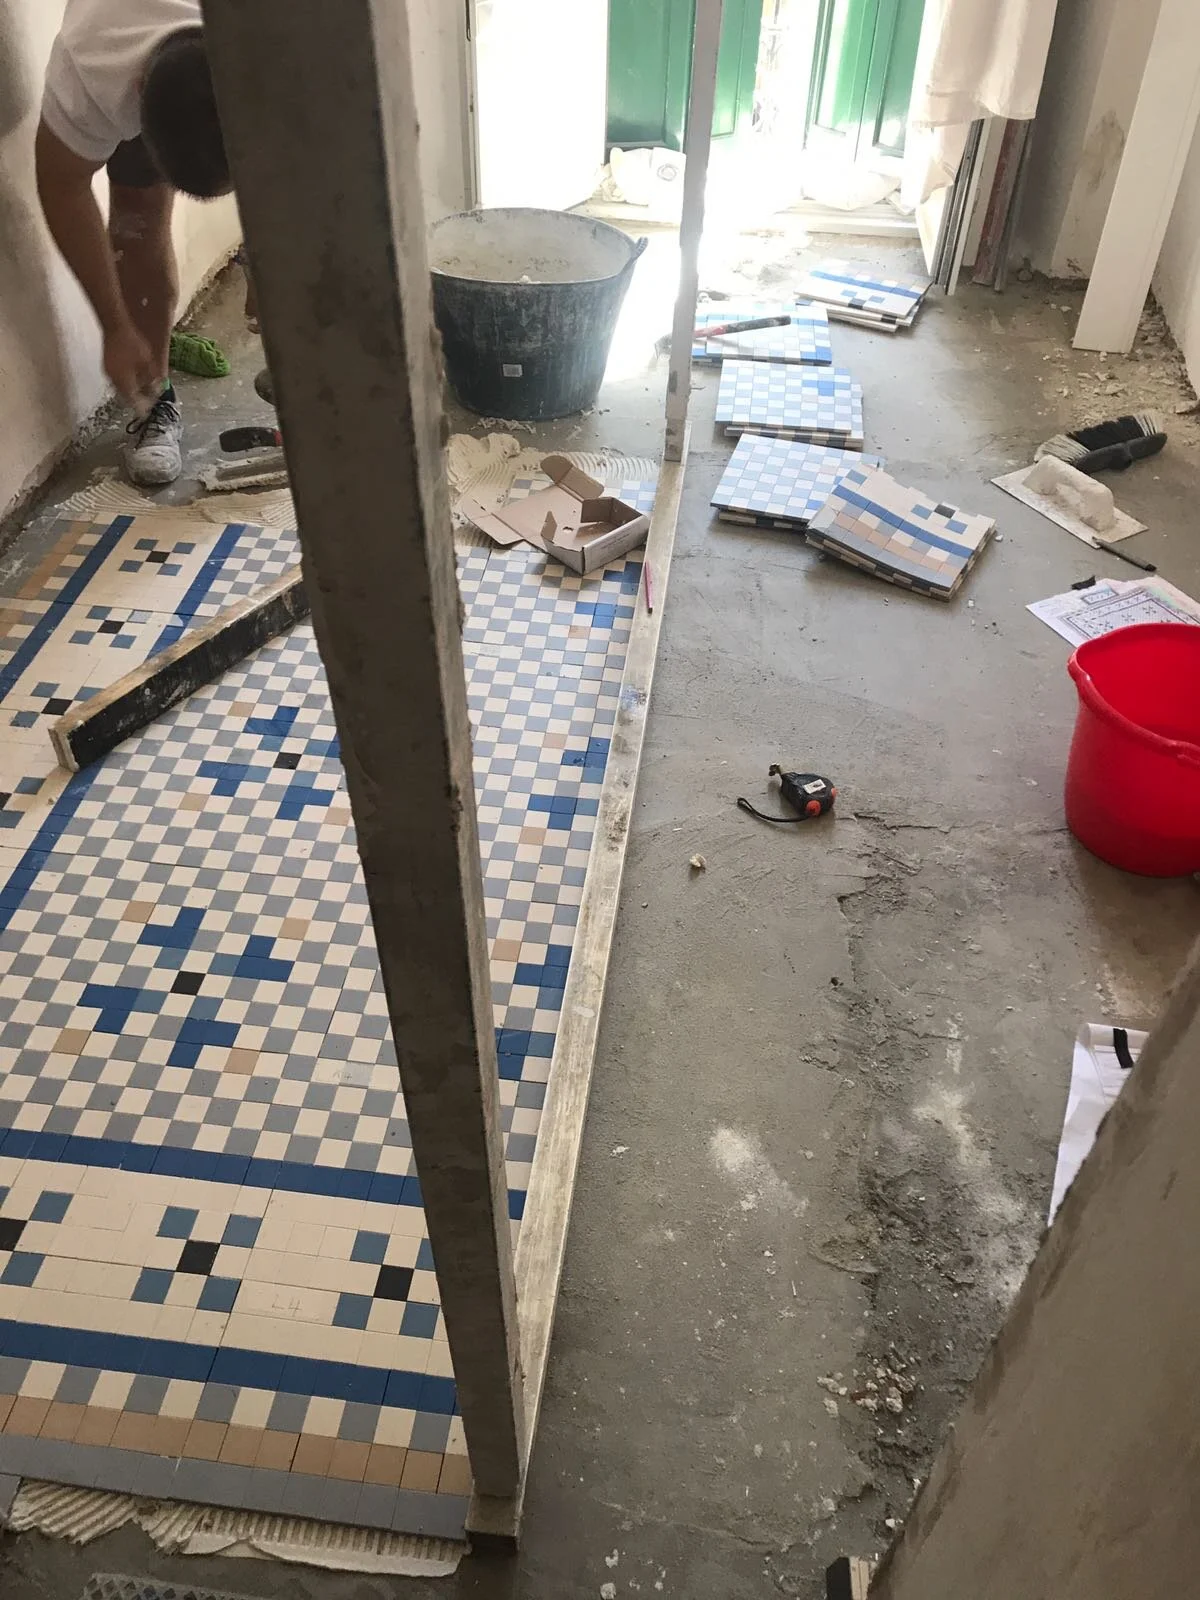
We had them all ready and it was just a case of getting this ‘easier’ jigsaw down on the floor.
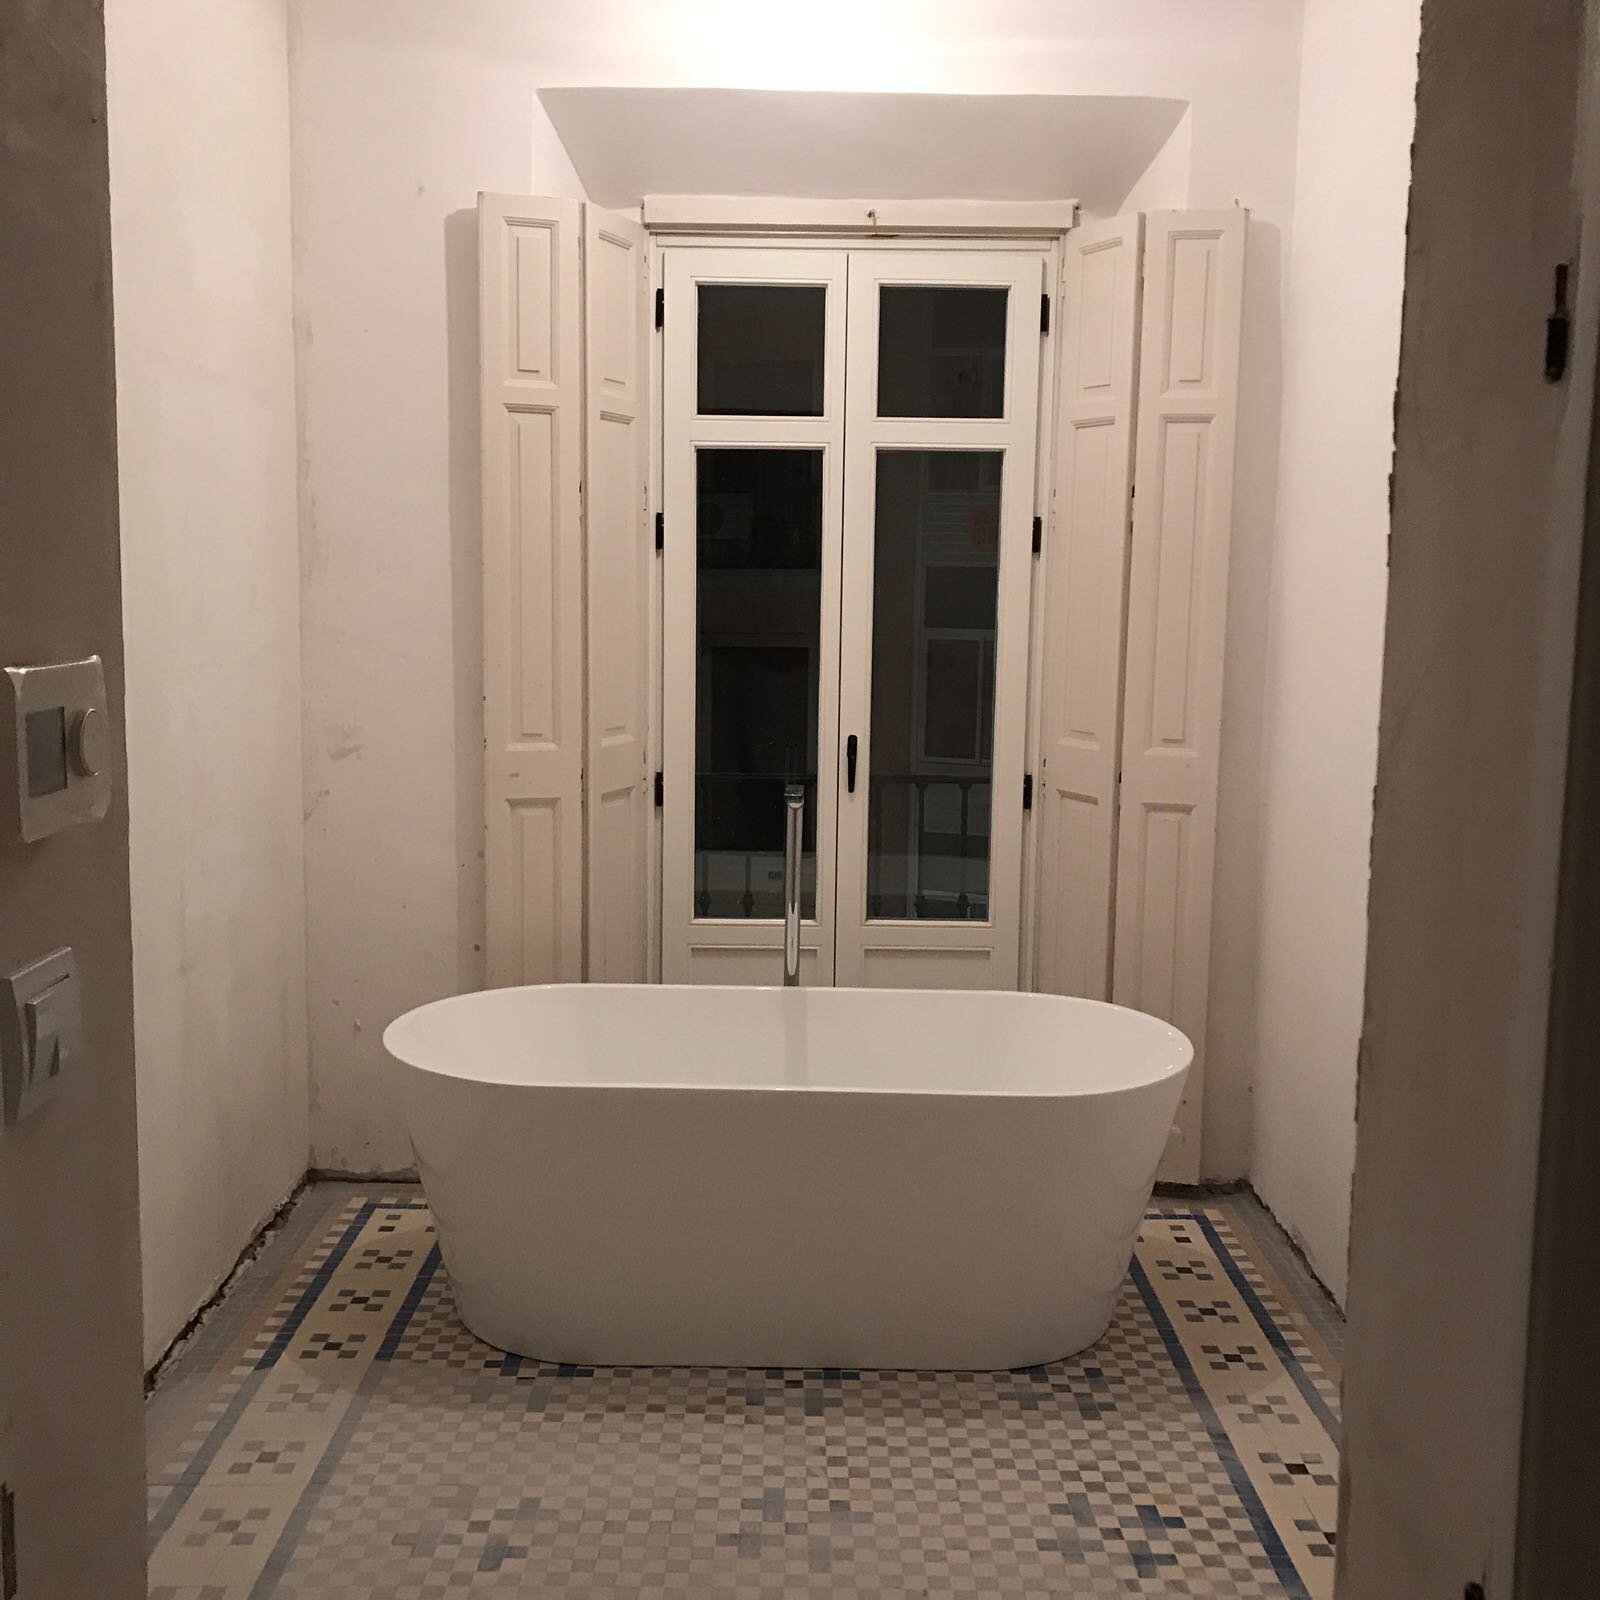
It was the best approach… we wouldn’t say it was easy putting them down but the fact we had prepped them so well sure did make it easier.
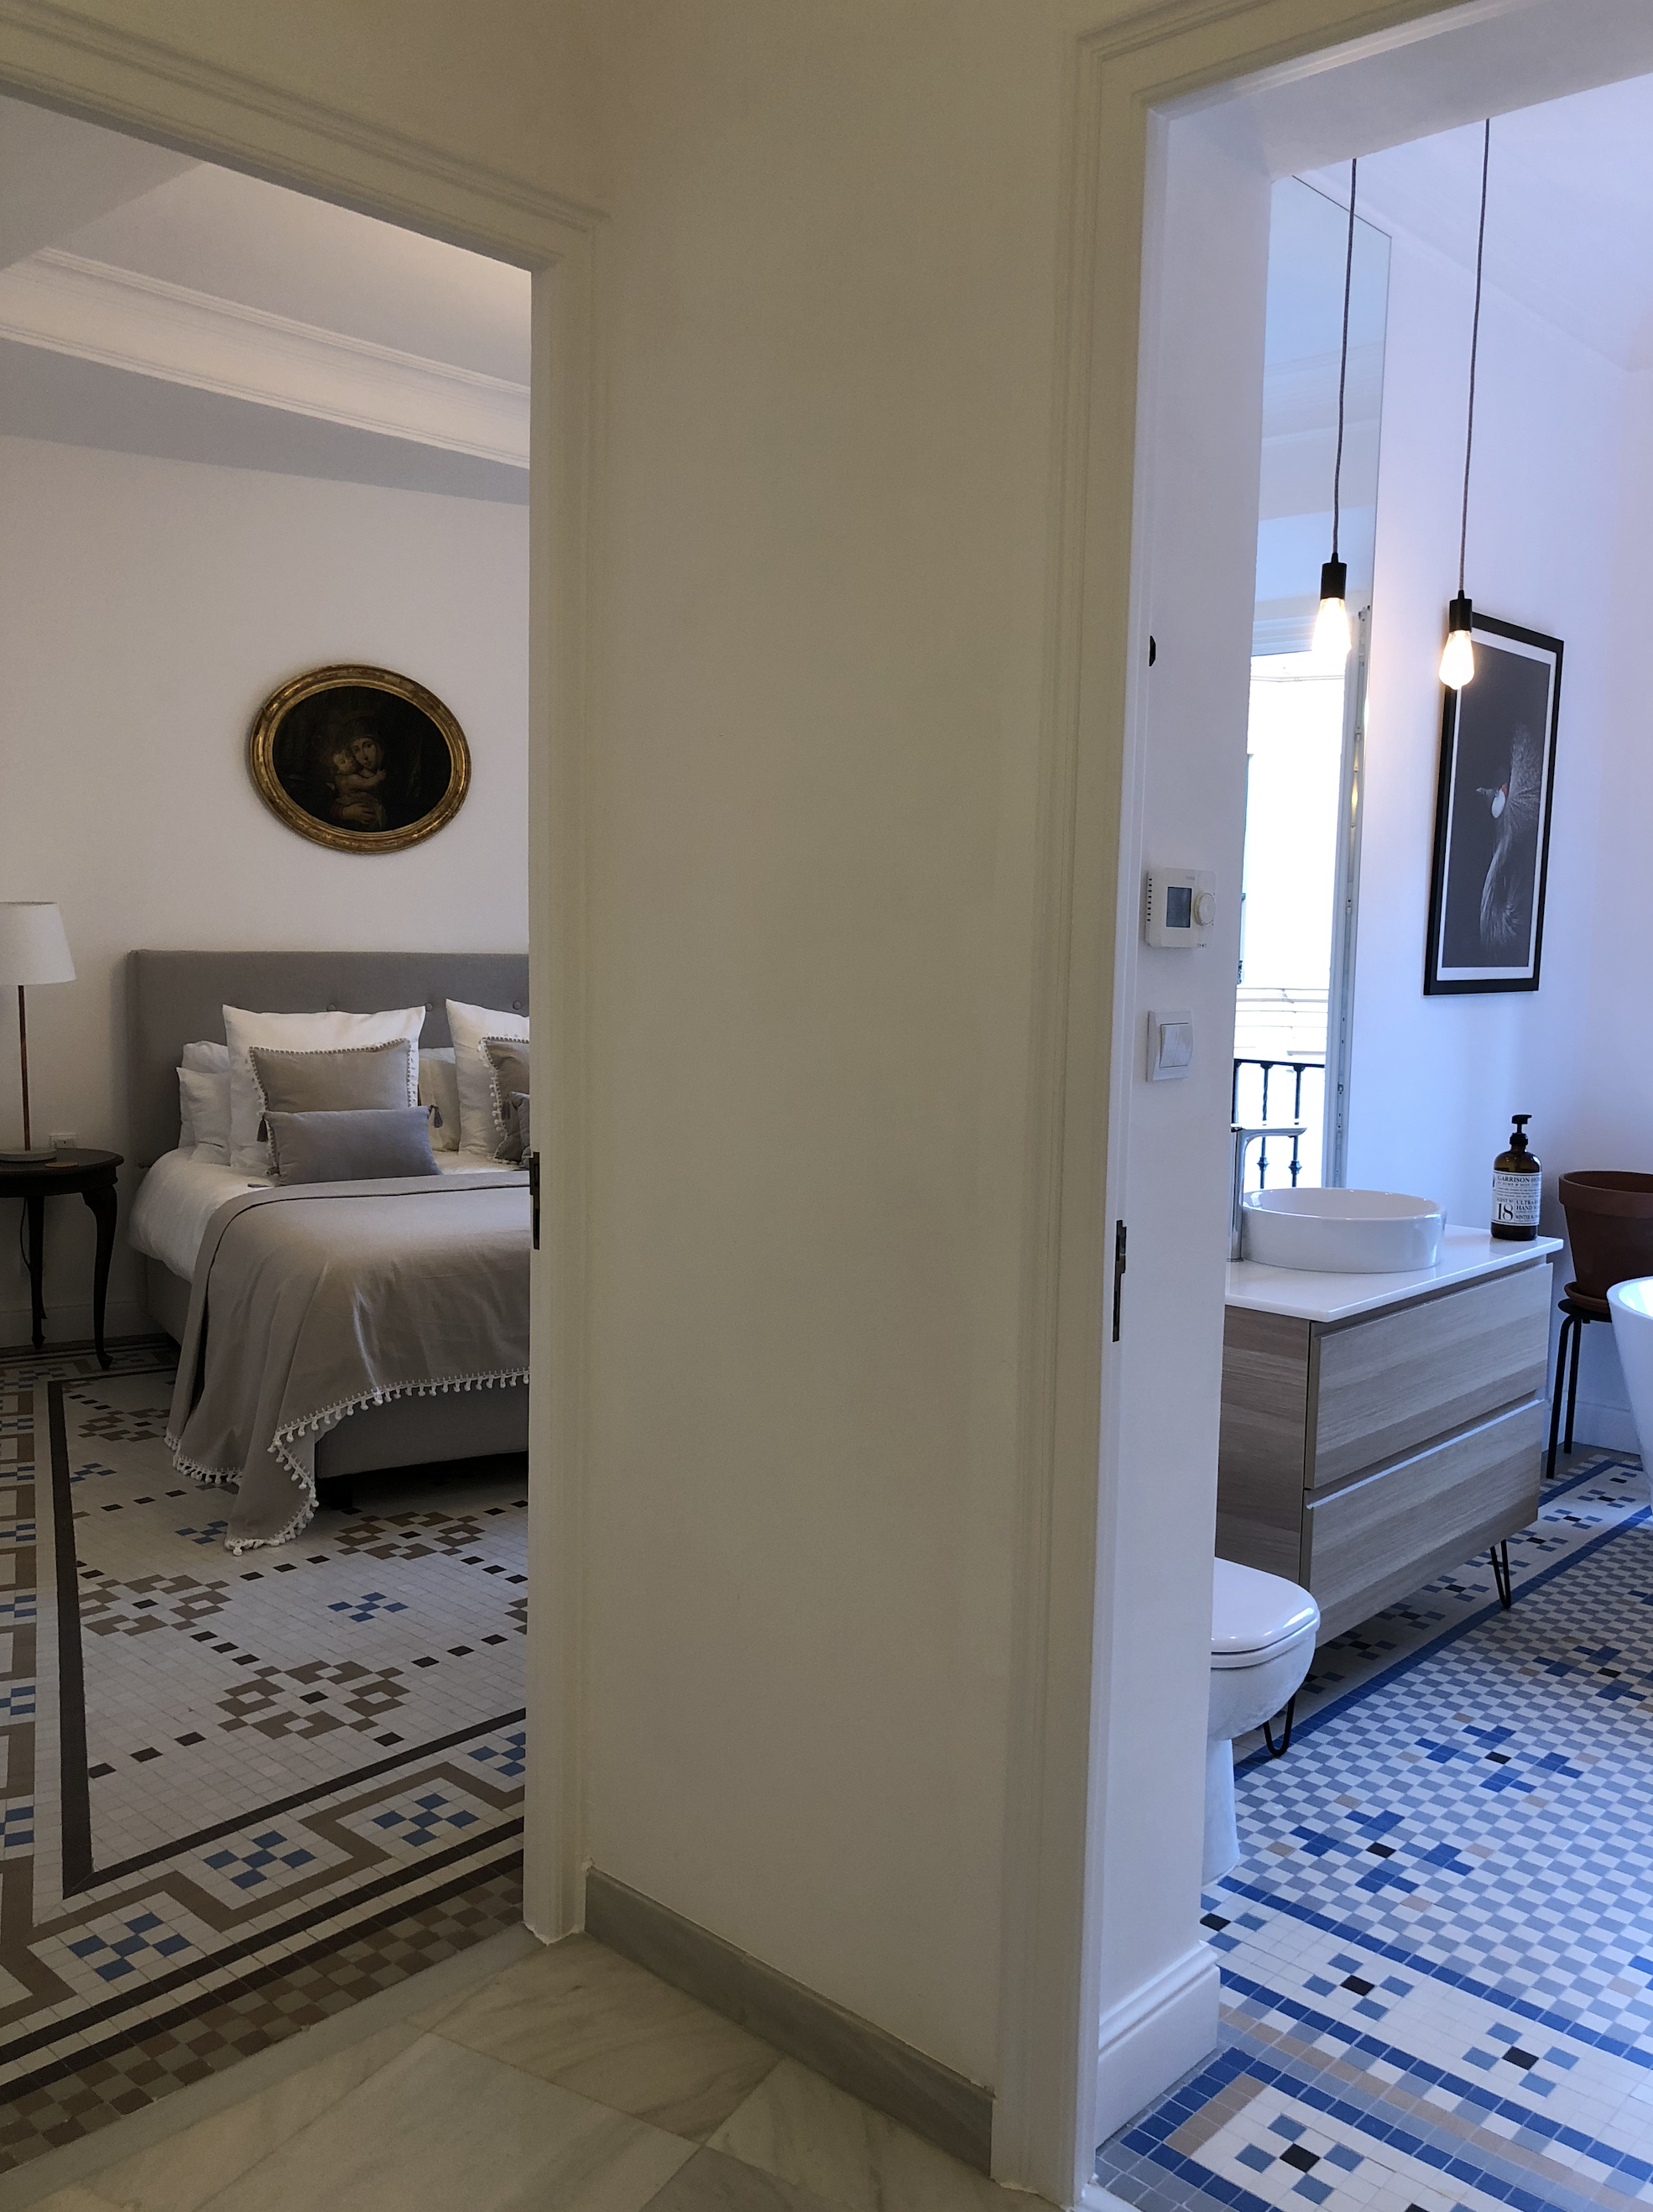
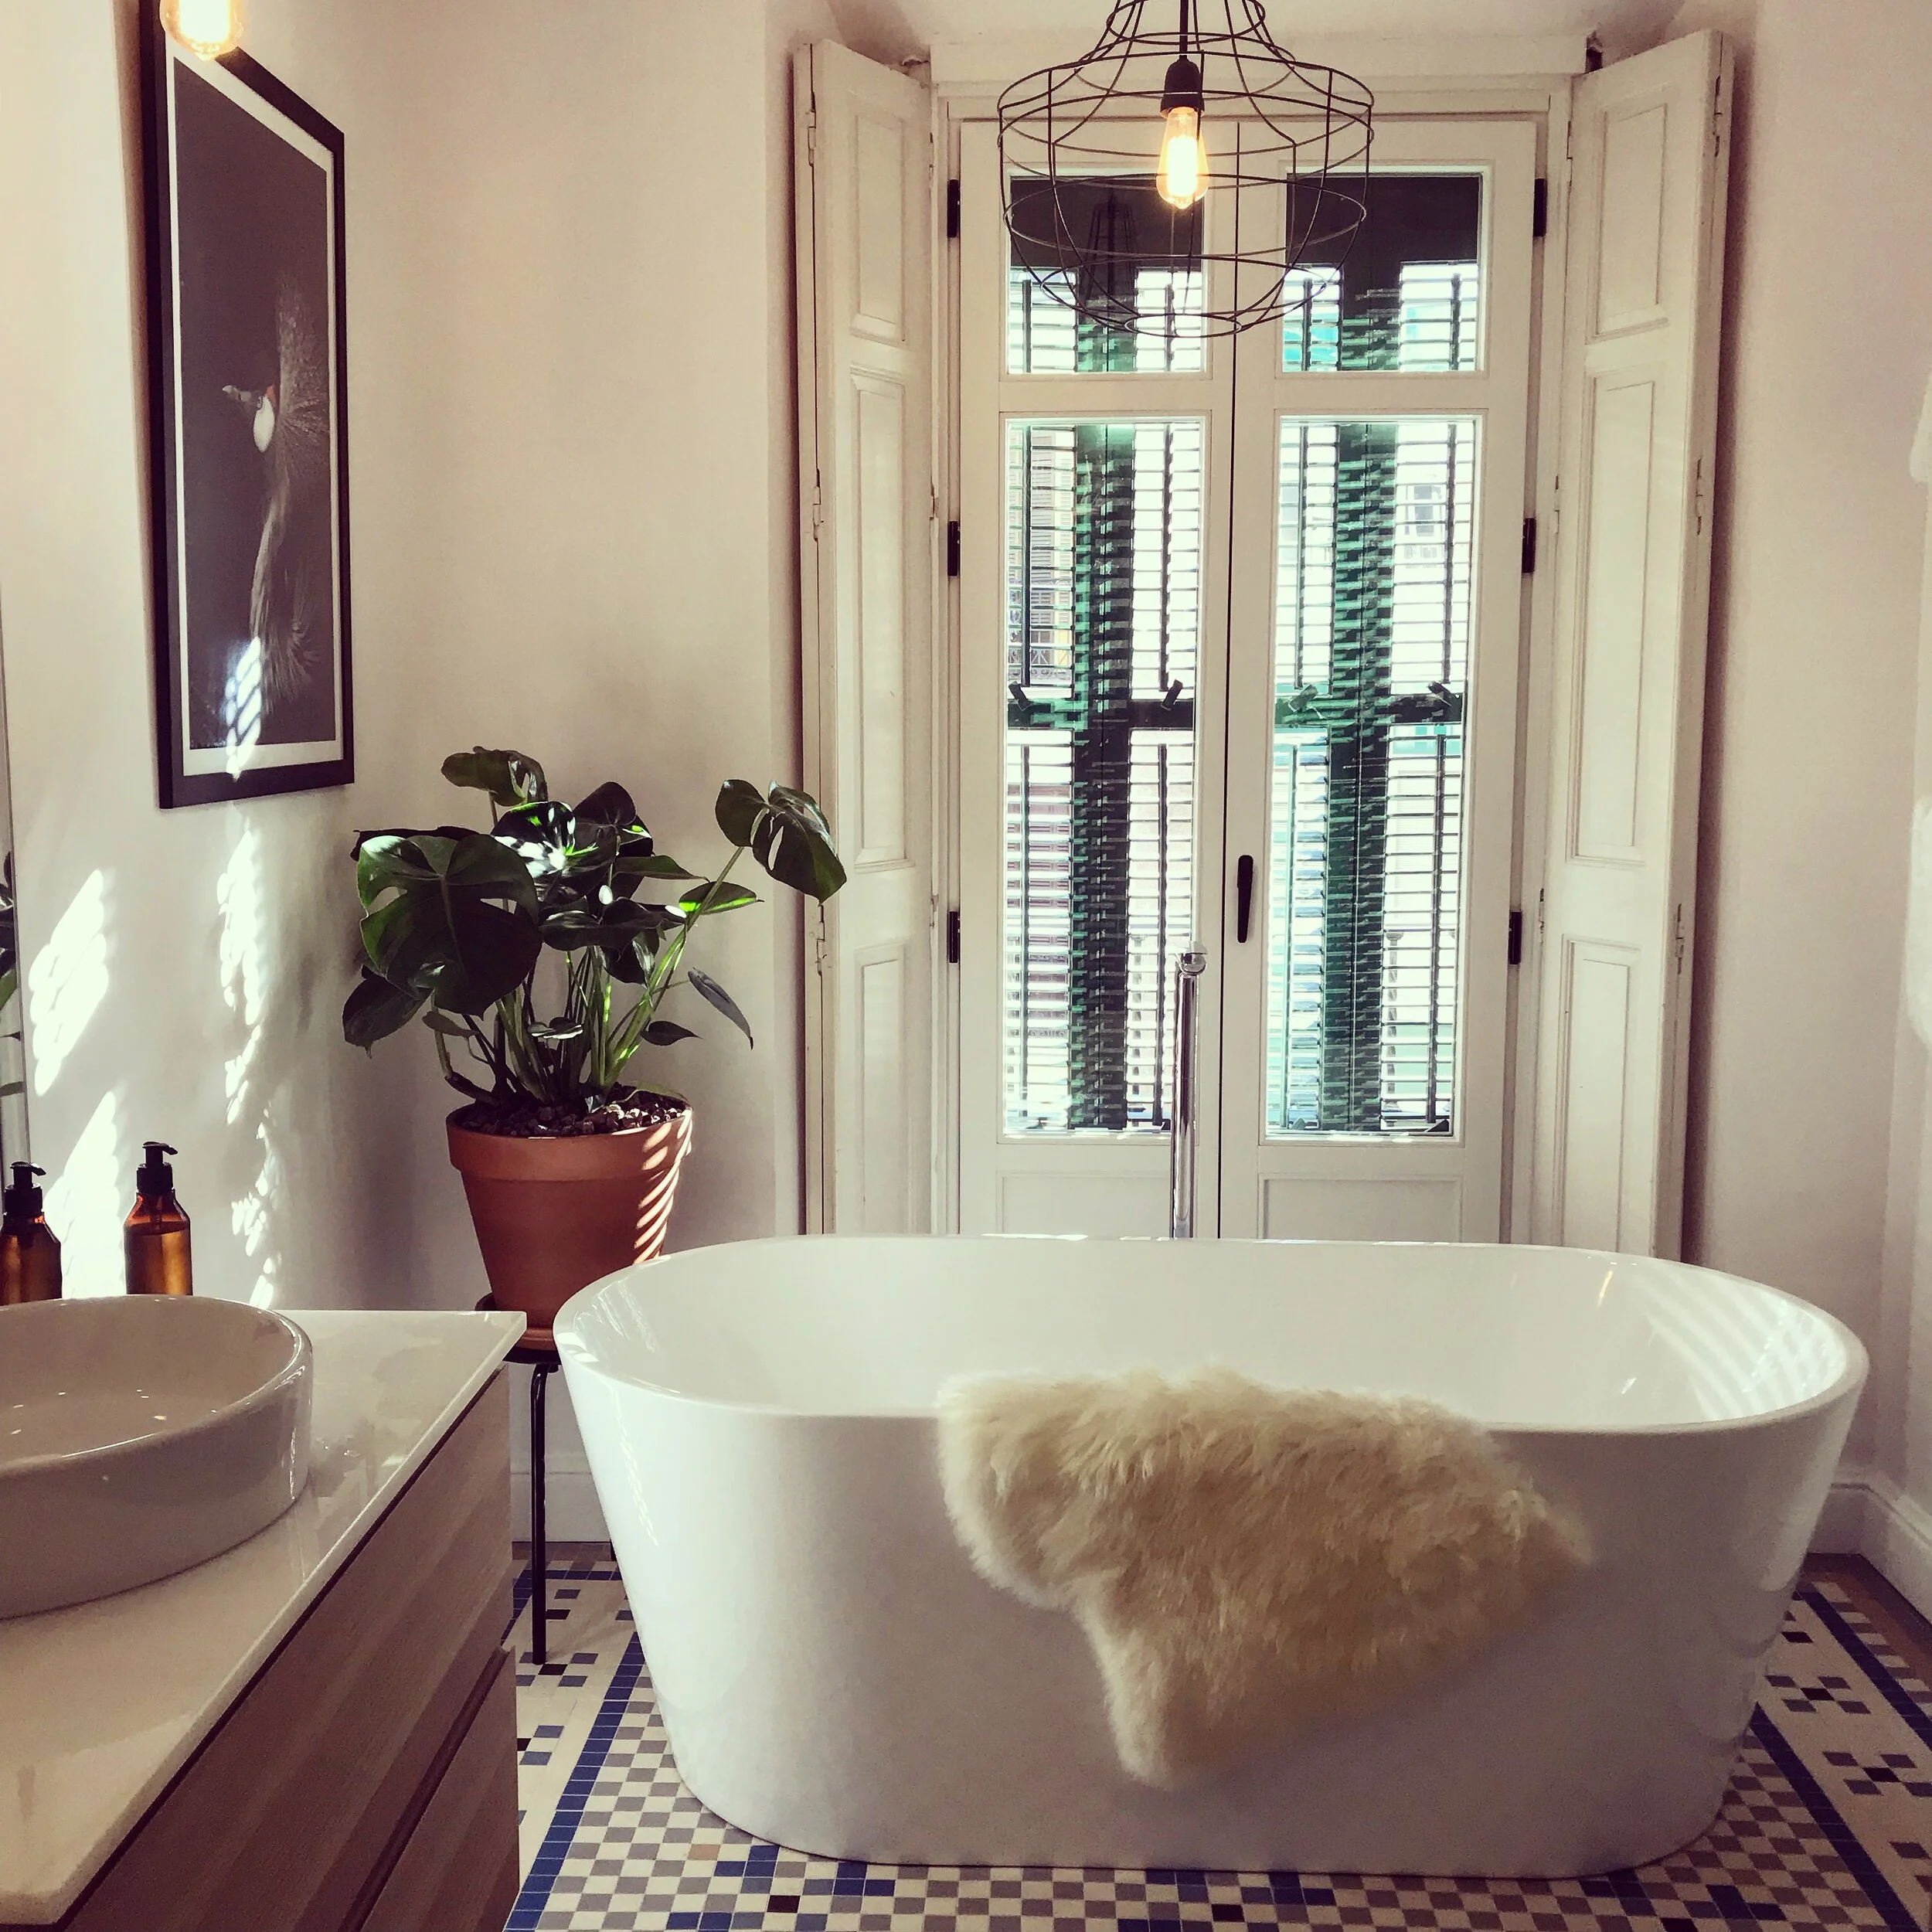
As we finished, we sat back enjoyed the fruits of our labour and agreed never to do mosaic floors ever again!
It may have been the most rewarding projects we have done but the hardwork involved was unbelievable. All our efforts were to create a space that looked so original to its setting and to protect the true heritage of this building. Terrible as it is, these beautiful floors aren’t protected under the buildings listed status, only its facade is. We saw many floors, just like ours being ripped out of surrounding buildings… it just breaks your heart!